Part one of the ticker baby class quilt... inspired by this quilt
We began the first part of our ticker style patchwork quilt today. My son's teacher is going to have a baby any day now, and so we are making a class baby quilt for her. I loved the ticker tape style quilts AmandaJean made, and new that it would be a really neat class project to do with kids. I saw this one done by grade five students. I thought, hey, if grade fives can do it, I can adapt this project for grade ones! ;-)
**If you are interested in my notes and preparation of part one with the class, I have done so at the bottom of this post.
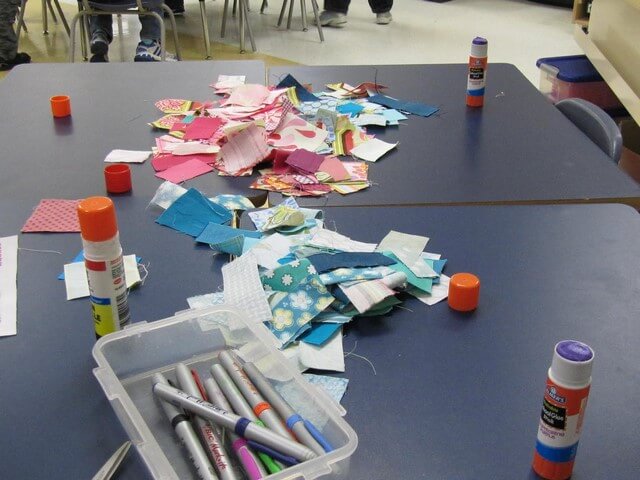
I spread everything out among some small tables and we worked together in groups of four students at a time. The boys and girls were in awe over the pretty colours and patterns of the fabrics.
After giving some very brief instructions, they went to work:
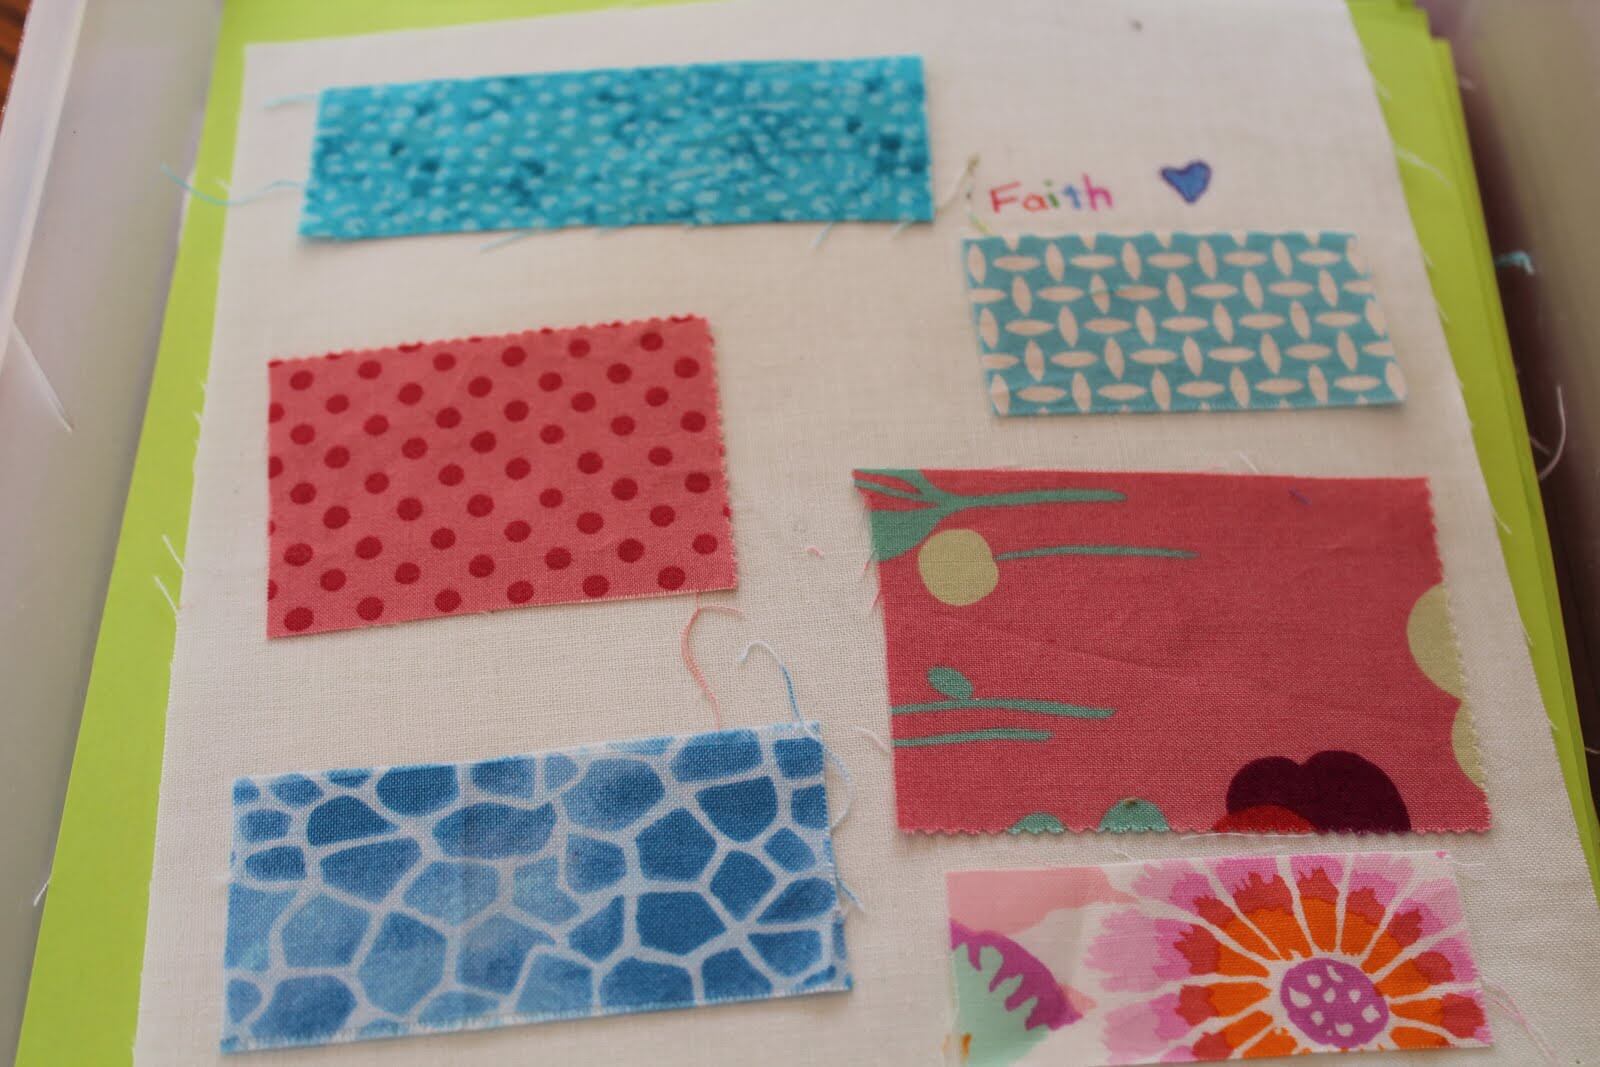
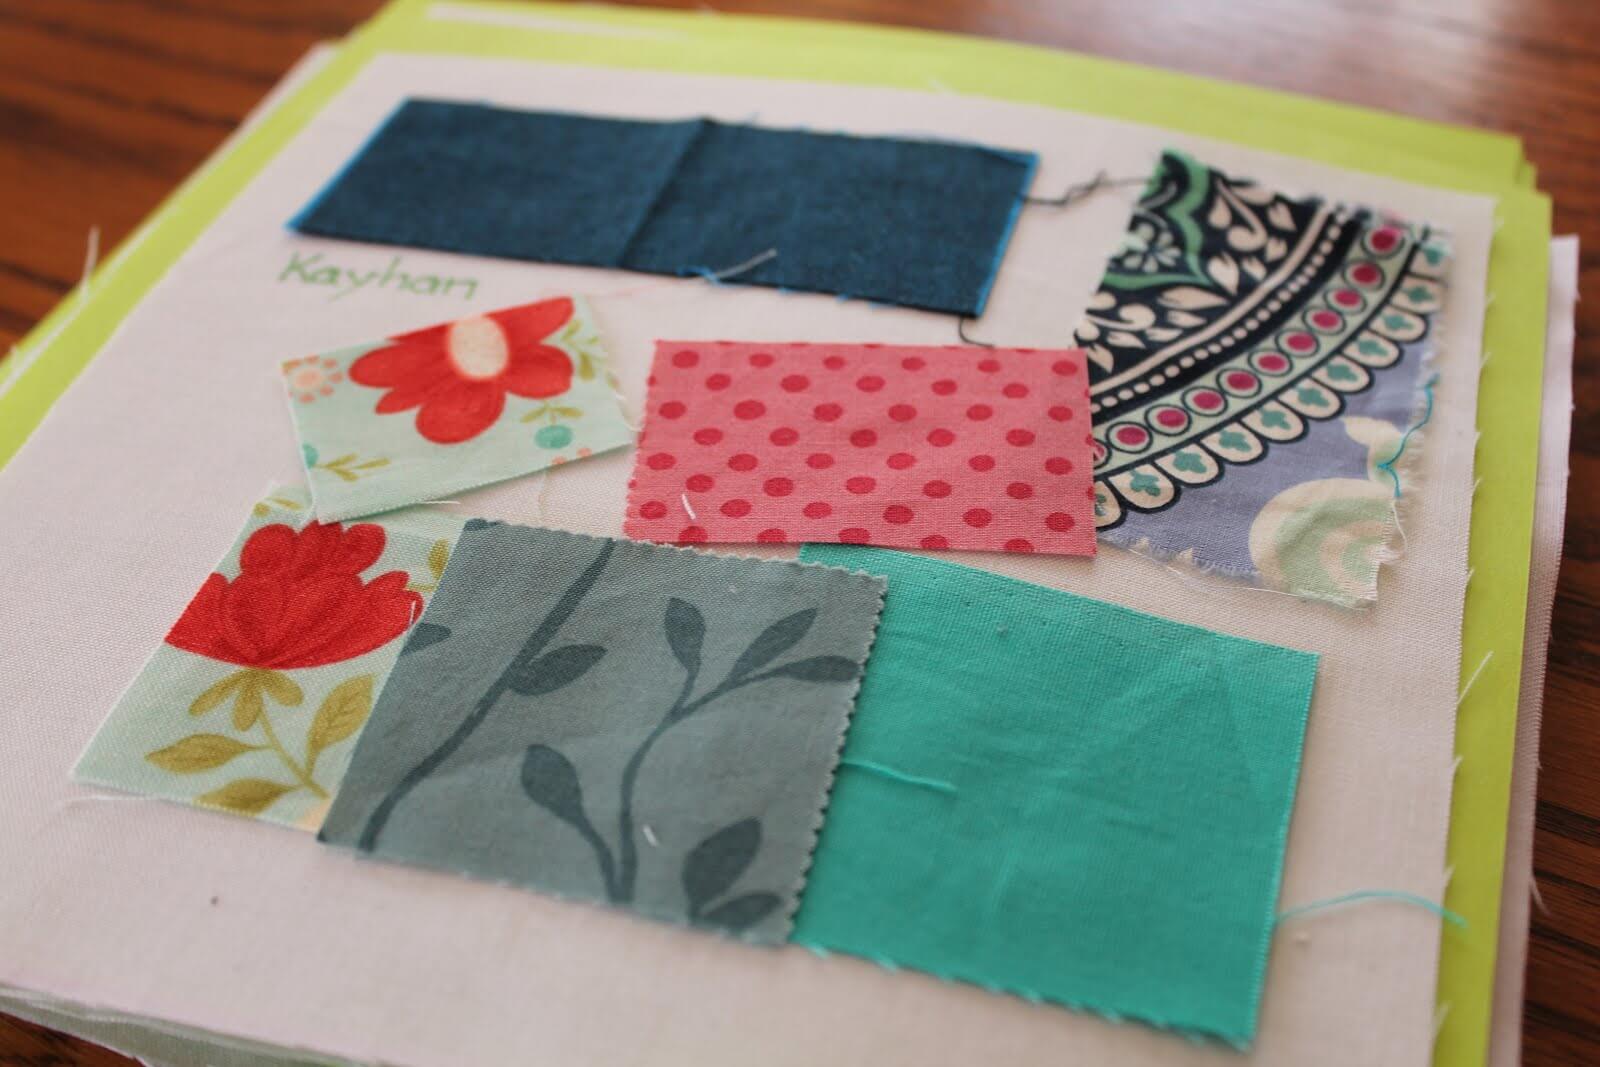
I am always amazed watching children think and plan...some are minimalists and extremely organized: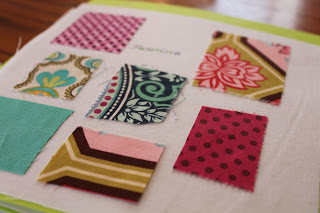
click on any of the photos to enlarge and see more detail
 Some just plunk things down wherever:
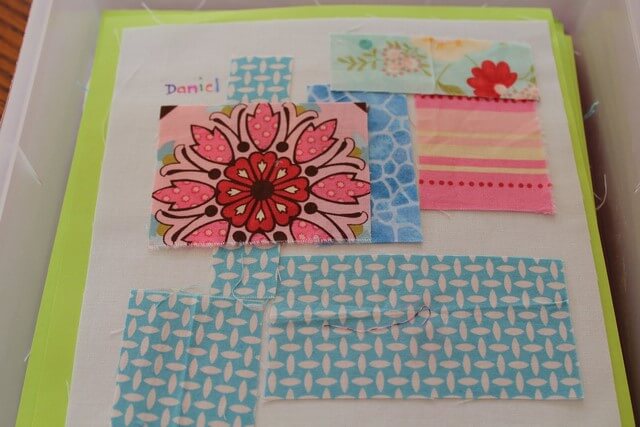
 Some plunk things down wherever, but they need to fit exactly like a puzzle:
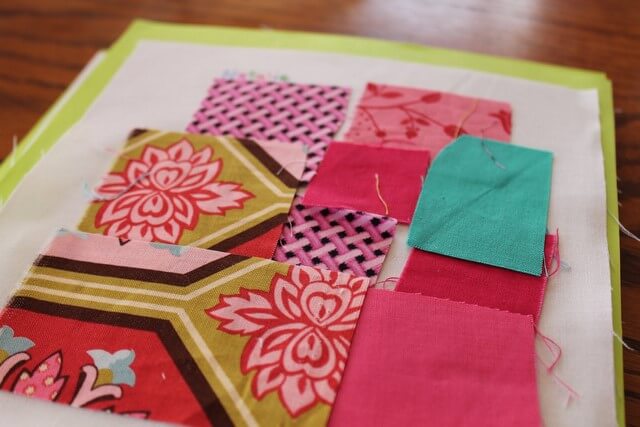
Some want to hoard as much of their favourite fabric as possible and fill up their space with colour:
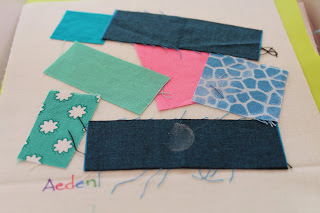
And some just move me. This boy chose the top right fabric (blue with the curve pattern) and plunked it down first. Then, he actually chose fabrics to match each of the colours in that one piece of fabric. It doesn't look like there was much thought, but he sure had a plan in his head!
The kids used elemer's school glue to dab a dot of glue to secure the fabric to the white square. The glue worked perfectly and was easy for them to use. I wrote their names on the squares where they chose to put their name - one person wanted to do rainbow colours - well, that was it, EVERYONE then wanted a rainbow name or alternating colours! ha!
I layered each finished square with a piece of scrap paper cut to about 8x8" to separate and contain each square.
I am amazed and thrilled with the outcome so far. Grade one students rock, they are totally willing and able, thoughtful and motivated, very capable, cute and huggy!
It was a really fun morning. NO kids farted near me today. *cheering*
(if you aren't sure what this is about, I have several blog posts about volunteering in the class and when I was teaching- how kids for some reason seem to fart around me)
If you have any questions about this process, please feel free to ask me!
Part two for me is now to sew each little ticker shape down.....
************************
Information on how to get this all together for a class:
I cut 6.5" white squares - one for each student.
I cut little scraps of squares and rectangles - a variety of small, medium and large.
Fabric scraps in blues and pinks
Iron all scraps so they are easy to lay flat and arrange.
Have a few examples of finished product for students to see.
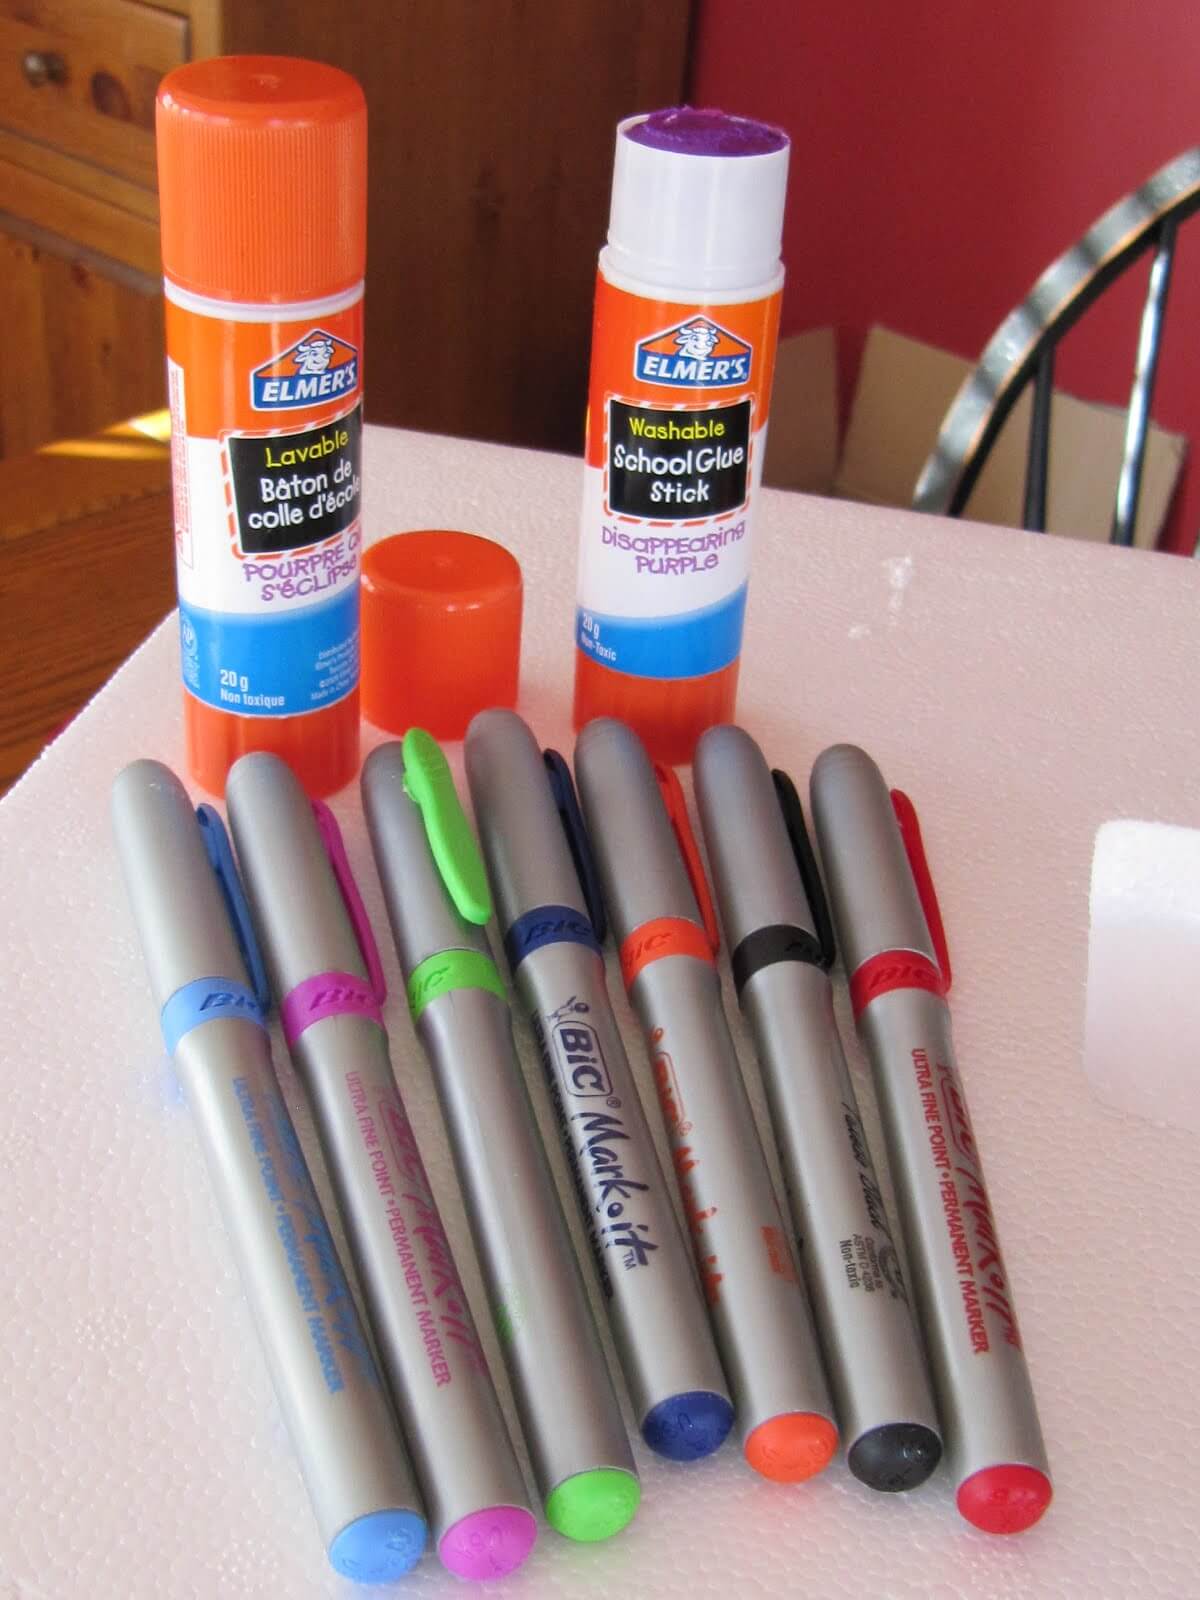
Purchased a set of coloured 'sharpie' markers, ultra fine tip.
Purchased a set of elmer's school glue
Scrap paper cut to about 8x8" to fit between completed ticker squares.
Containers to hold scraps loosely, to avoid wrinkles.
Container to hold finished squares
Instructions to students:
Show examples.
Choose colours you would like, leave some white spaces.
Leave a white border (what is a border?) or frame (what is a frame?) about the size of your finger around the edge.
Dab a little dab of glue and stick on. (Demonstrate this) You can arrange them like a puzzle, or you can put some on top of each other and 'layer' them. (show examples)
When you are finished, we will put your name on it. (Students will not write their names, as the markers sometimes bleed the colour and can make it illegible)
Self evaluation for students:
Is there a border/frame around the outside edge?
Have I left some white spaces?
Have I used different sizes of fabric scraps?
Have I used glue to make sure the scraps don't fall off?
Where will my name go?
What colour do I wish my name to be printed?
I'm so glad this part worked out!
ReplyM wants to play with scraps for her 100 day project, but we haven't sorted whether it will be ticker tape or something else.
I love this! Thanks for all the details too - I'm sure it will be really helpful when someone else wants to try this.
ReplyI'm a little worried about those colored Sharpies, though. I tried using them for a quilt label a couple years ago, and found that the lighter colors faded almost completely in the wash. You might want to try washing a test sample to see how they fare. It would be a shame to lose those names!
I can not begin to tell you how cool I think this project is...
ReplyLove that you included your lesson plan and assessment in the blog post. :-)
Thank you so much for this post! I have started sewing with school kids too and I love this idea.
ReplyYou've got a great blog! Check out my new frugal decorating blog: www.fleaChic.com (Chic not chick!) Thanks and good luck!
Reply