Friday, November 28, 2014

Modern Bargello Quilt

I have a new tutorial up at Moda Bake Shop!   Check it out here
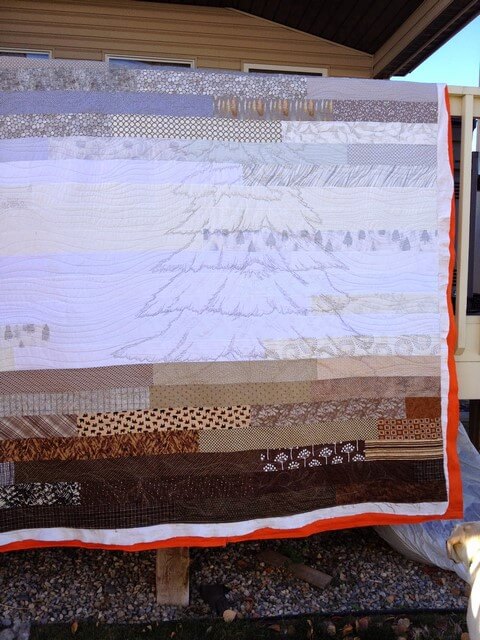
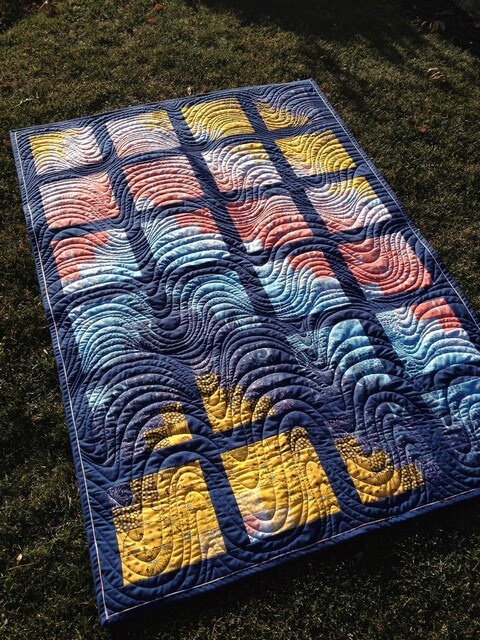
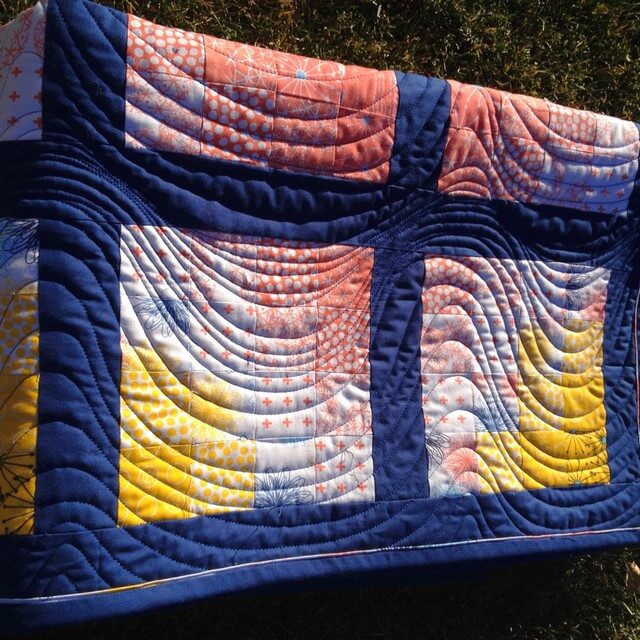
I have always loved the Bargello Quilt. This is a version of a simplified bargello - one with sashing to break it up a bit and give it a modern flair. 

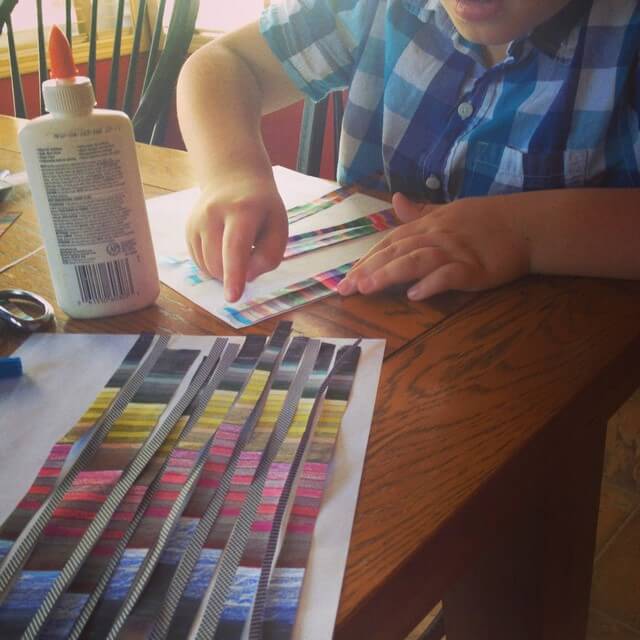
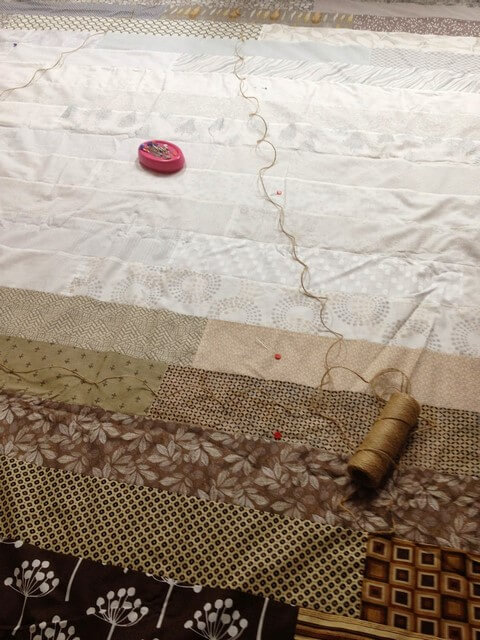
We started with lots of practice on curves -  using graph paper.    My son loved helping me with this part.  


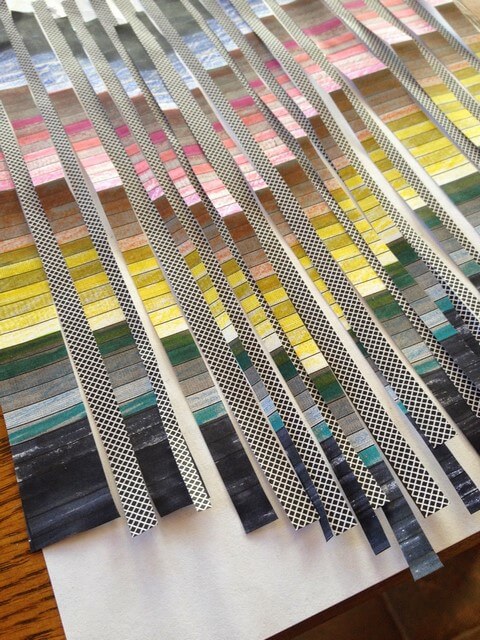
 Although the technique isn't quite the same as using the 'tubes' of fabric,  it still gives the practice of how you want your curve to flow.  

While I was planning the bargello I actually changed up the design many many many times.   I just wasn't happy with the look.    I think if I had a different set of fabrics or colours, I may have gone with my original design.    So, I simplified things again and went to my computer.  I used microsoft excel to create a basic idea of my bargello. 


Then I started messing around and adding my first idea -  just vertical sashing.   Wasn't pleased with that, so I added horizontal sashing in random places:   

I liked this idea, and will try it again in the future.  But for a tutorial I thought, how on earth am I going to keep this simple and doable for someone new? 

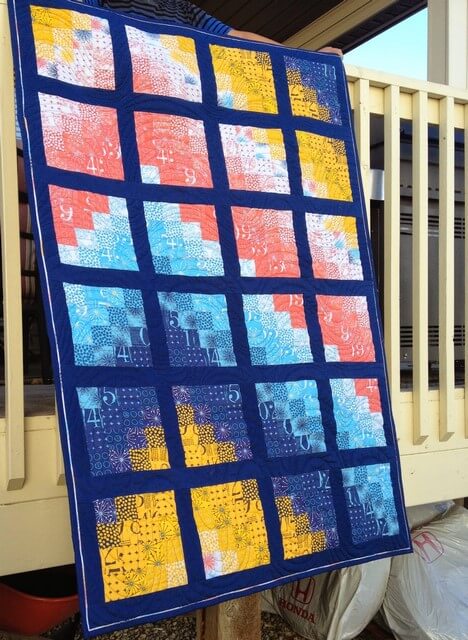
So I changed it to consistent sashing with rectangular blocks:
which I liked a lot too...but the squares seemed to work best this time!

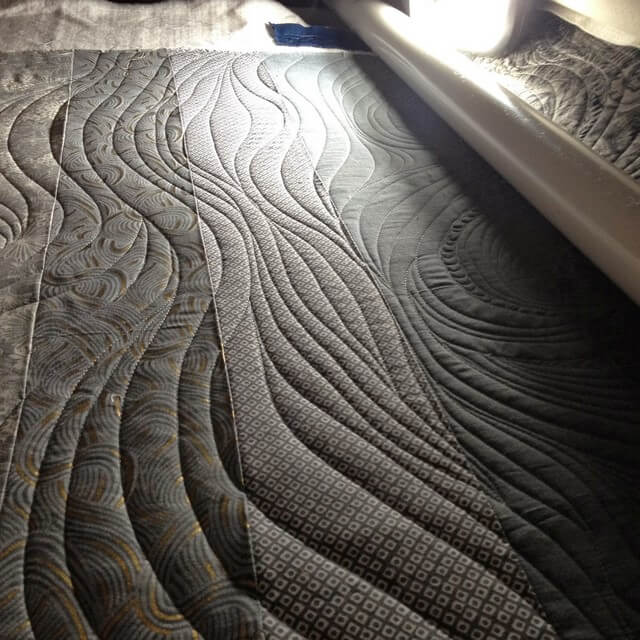
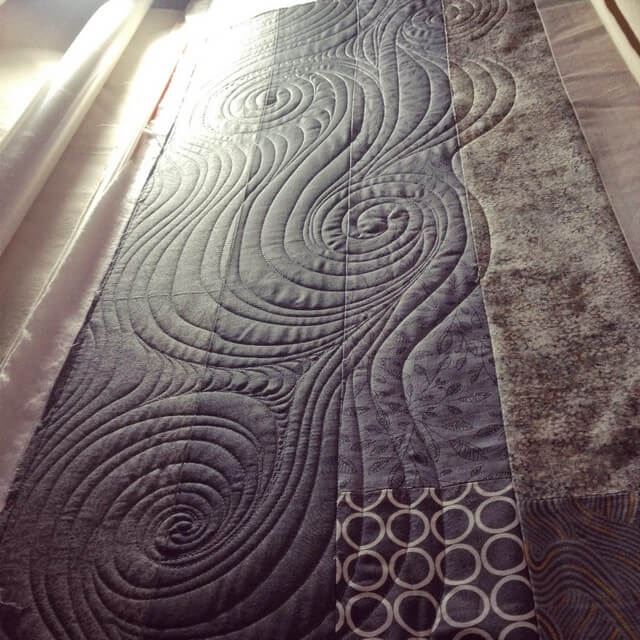
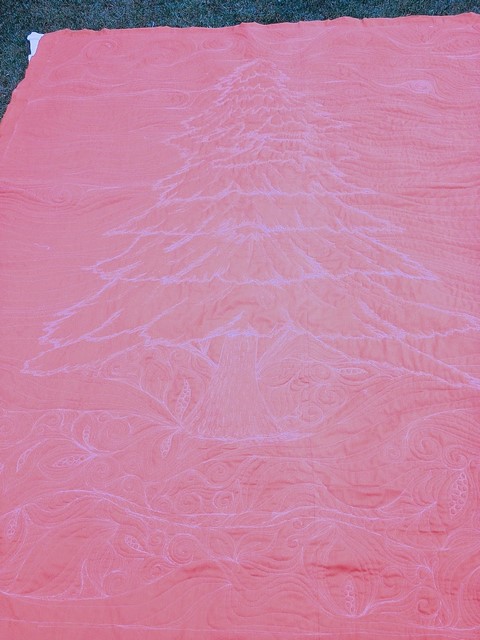
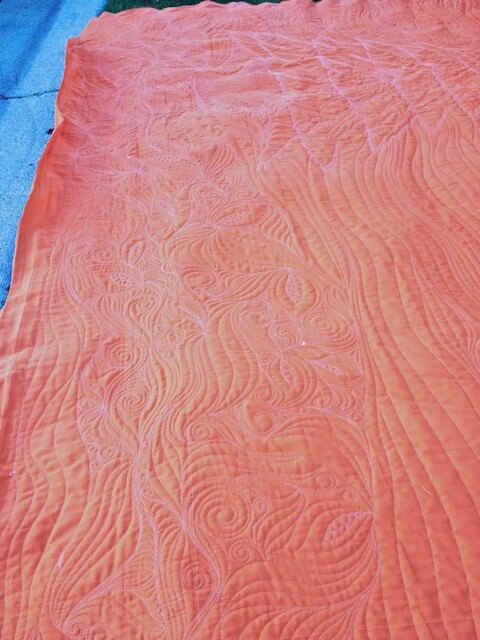
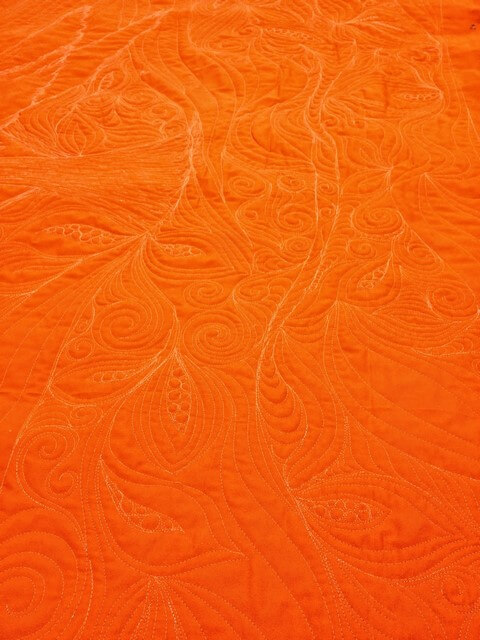
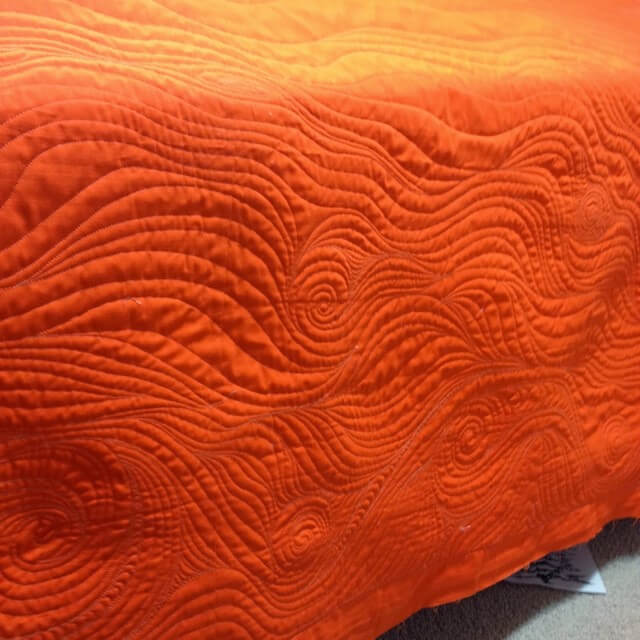
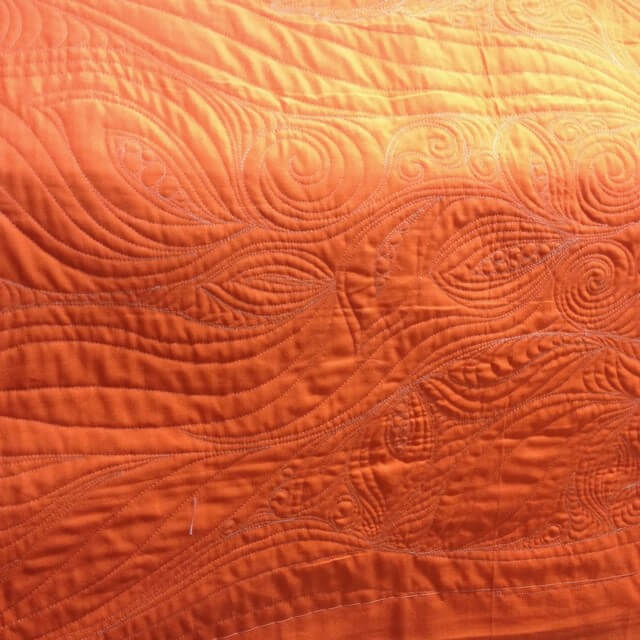
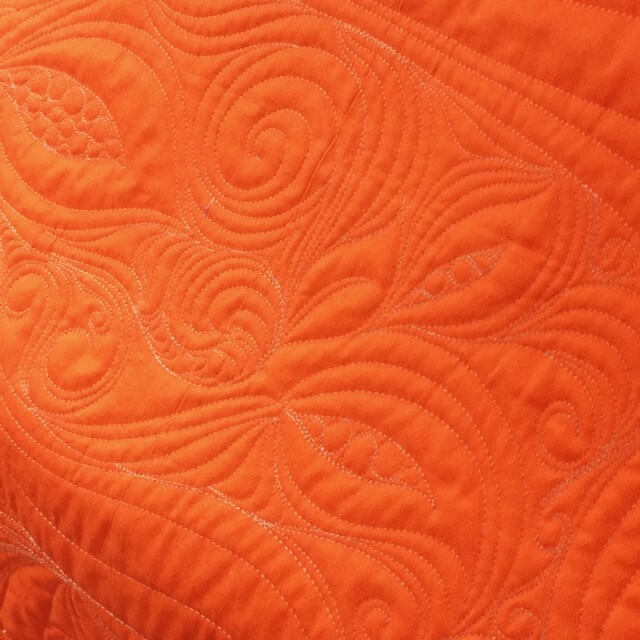
I quilted the quilt with just wavy lines.  It was so freeing.   I was going fast, I wasn't measuring or marking.  Just 'driving' the machine.   So unlike my usual quilting.  I loved it. 


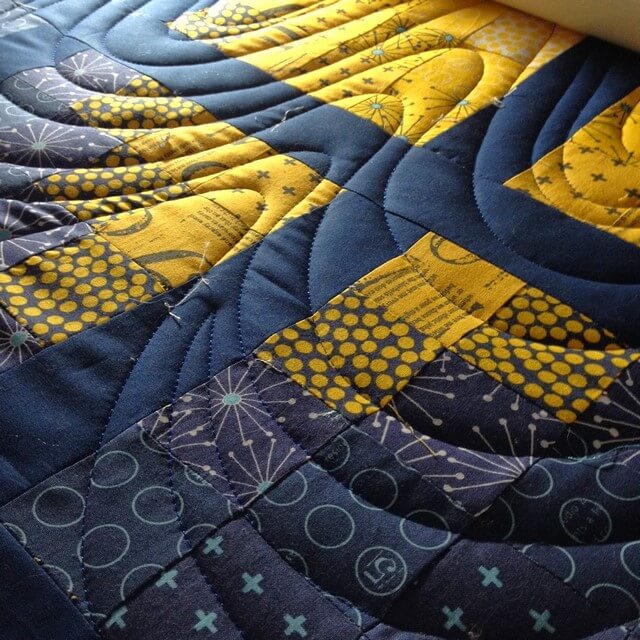
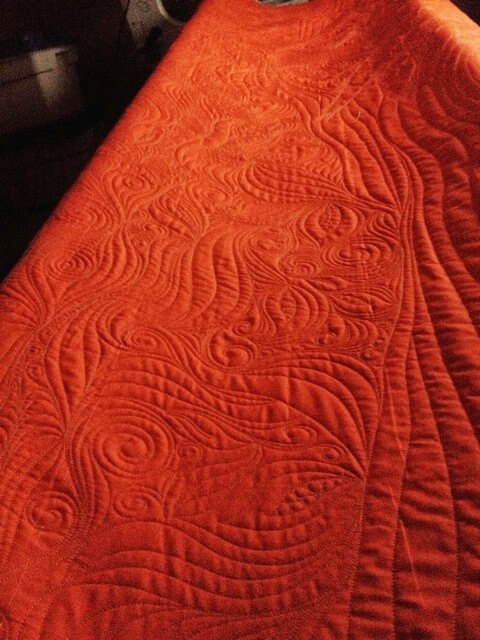
I love the watercolour effect of this line by Zen Chic called Figures.   It really worked well together.   The colours are gorgeous -   I love that salmon/coral!  


I used 'Suzie's Magic Binding' to create interest in the binding.  I think it looks fantastic!!!  


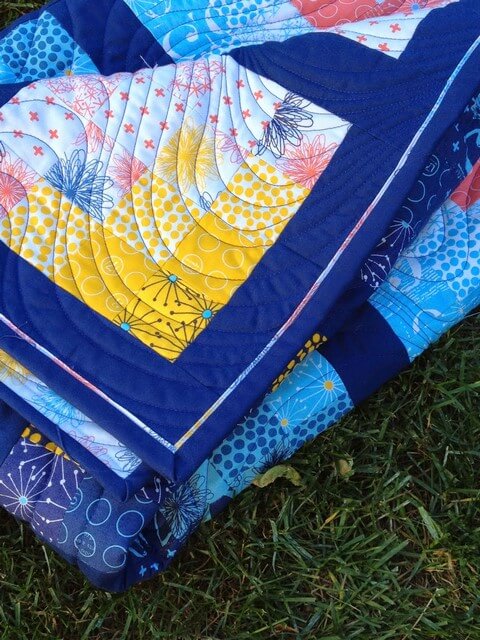
Quilted on my APQS Millennium using Hobbs 80/20 batting,   Superior Magnifico (navy) and Wonderfil Magnifico Decobob in the bobbin.

If you make one, I would love to see your version of it!    Enjoy your week!


Tuesday, November 18, 2014

Modern Landscape quilt

If you are visiting from SewSister's Blogathon Canada! Welcome!!
I recently worked on a King sized quilt top that was really fun to plan out and design.    The client was quite easy going with the quilting to put on the top - but specified that a tree off center was to be a feature on the quilt.   Usually a quilt top has blocks and boundaries to keep your design in line and contained.  This one, I figured to be more of a modern landscape.   

I planned to do organic flowing lines in the background with swirls  to show movment.     The bottom of the quilt,  brown prints,  indicated the ground, and so I quilted swirls, leaf shapes, pebbles and lines in a flowing, more dense design.   

The spruce tree required a bit more planning and practiceI did a google image search - continuous line drawing – spruce tree;   spruce tree drawings,  etc. to come up with five or six images that I could play around with.   I would sketch them out on a scrap piece of paper, and then decide if I could manage that type of sketch as a large scale drawing on a quilt.  After analyzing and coming up with two designs that I thought would fit well with the fabric selections in the quilt top  -   I forwarded these two images to my client and had her choose what style she would prefer for the top.   When that was decided, I did a little bit more sketching on my whiteboard and paper.   

Next up, I had to estimate a scale for the quilt-    off center and large enough to look like it was ‘part’ of the quilt.     I actually laid out the quilt top on my floor and used string first and then painters’ tape to place an outline of the triangular shape and vertical trunk of the tree first.   After a few shifts in location and sizes, I then added a few tape ‘branches’ to mark out the different layers of the branches.      The tape worked well – but it does come off easily.   I also used a marking pen to mark some of the branch layers

Quilting the tree was not as easy as I thought - after doing just a single outline, I realized that I would need to do a bit of thread ‘painting’ to give more texture.   When doing this type of quilting, it is really important to step back a few feet as well, to get the whole picture of what the ‘painting’ looks like.   I had to be careful not to do too much thread painting, to keep the quilt soft and pliable.  Using the machine, my nose is often about 6-8 inches away from the quilt top – and so I see every. single. stitch.   And that can make one a little neurotic.   ;-)
 Back of quilt - photo edited a lot to show the tree -  the backing is actually a dark vivid orange.
The end result photos were really hard to capture the design and the texture -  the backing colour was solid orange – anyone have tips on photographing orange? But I did want to share my thinking and quilting process with you -  maybe it can help you in a future quilt.  Some of the following photos have been edited, lightened, etc to show more detail of the stitching.

Batting - Quilter's Dream 100% cotton
Thread - Glide thread top,  Wonderfil Decobob bobbin