
A pictorial tour of the 4 hour assembly process of my new APQS Millennium! I could have paid someone to come out and do it for me, but it was important for me to know the ins and outs of this setup...plus, 500 dollars can buy a lot of thread! ;-)
We did our setup in two sessions.
Session 1 after dinner:

The big rail was mounted to the table legs. easy.
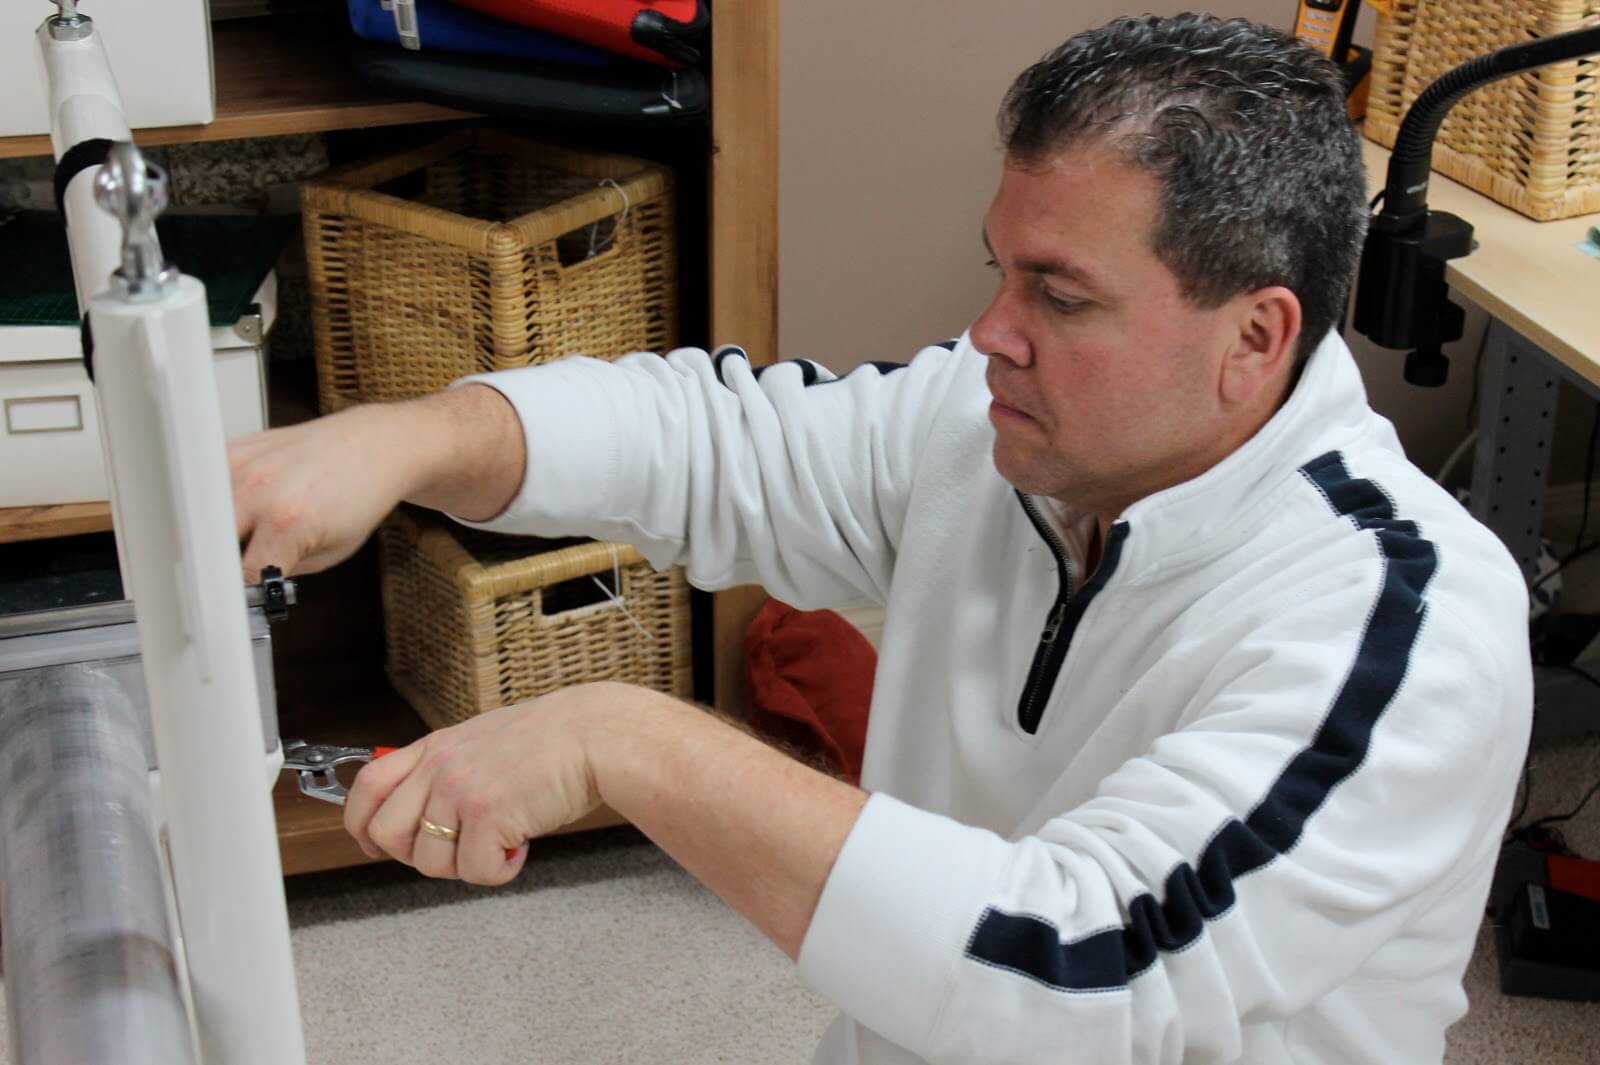
Trent tightening everything up...
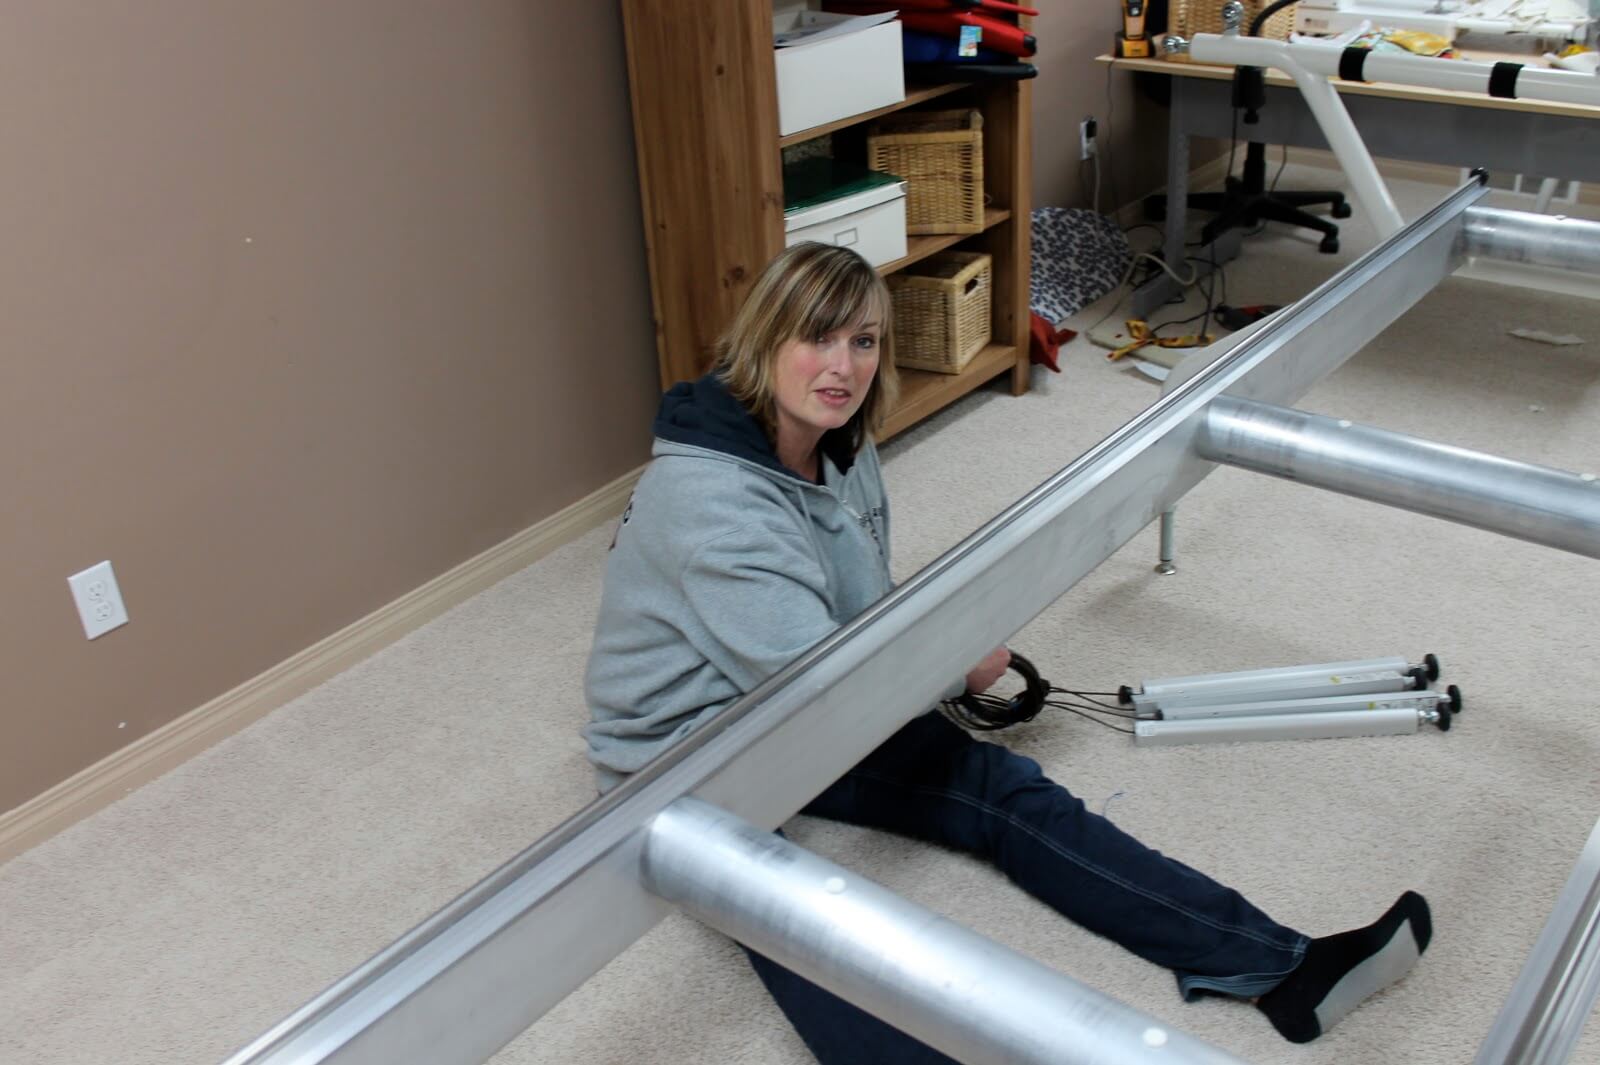
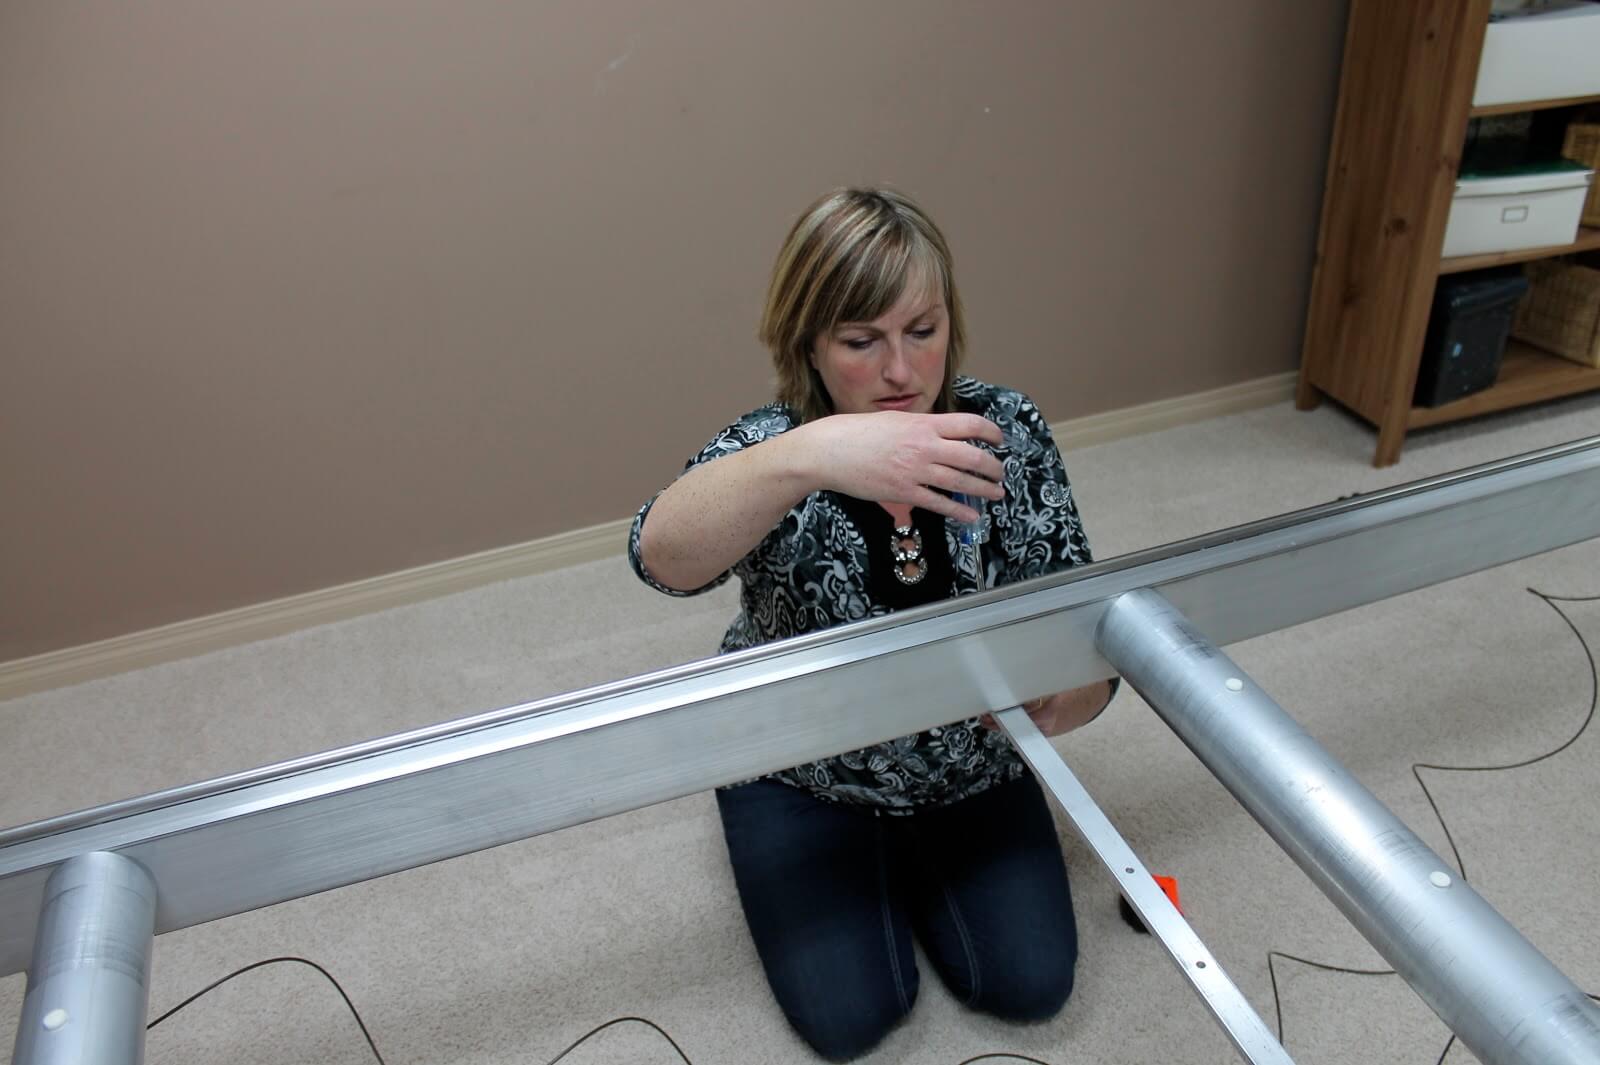
I got a hydraulic lift for the table - being 6' tall, I thought it might help with posture and position over time. Here I'm unravelling the lifts and getting them ready.
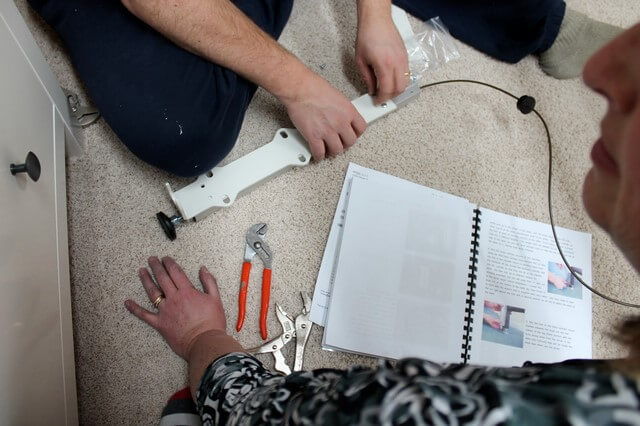
Figuring out how the brackets fit onto the lifts....
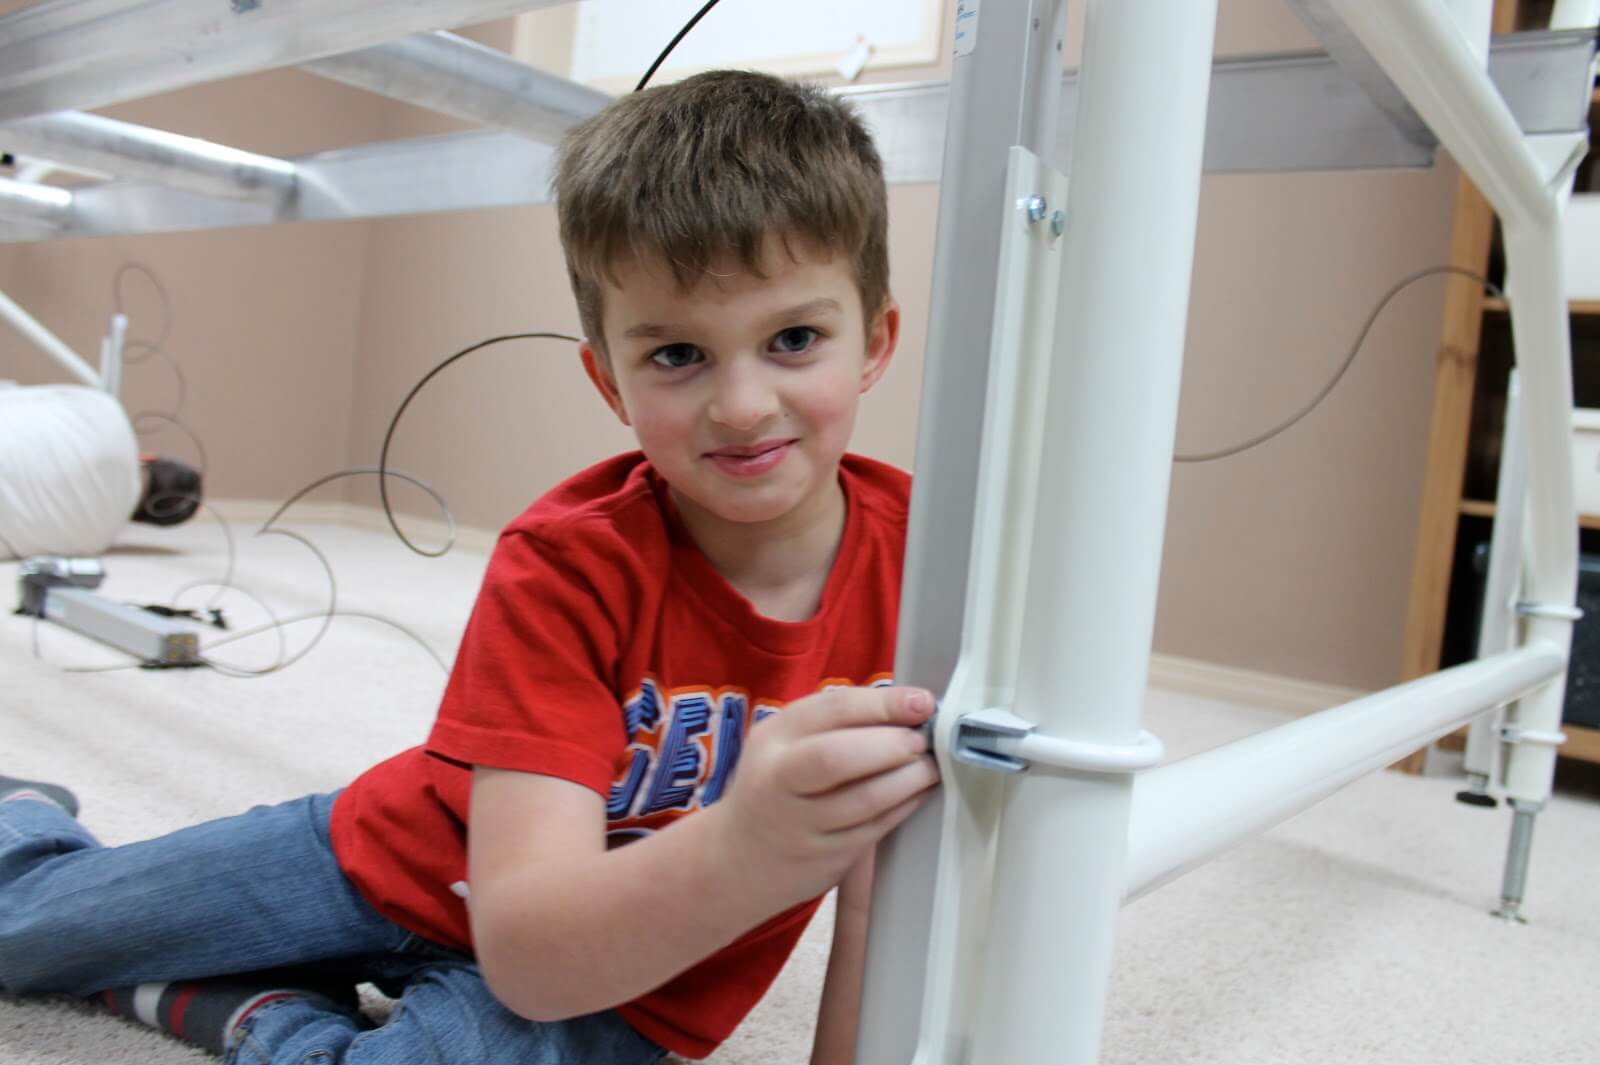
My amazing helper #2 putting the brackets on the lifts.
Putting the crossbar connection support for the hydraulic motor, only to find out I put it on backwards. The power box was different than in the manual diagrams and therefore we had to figure this out a bit on our own.
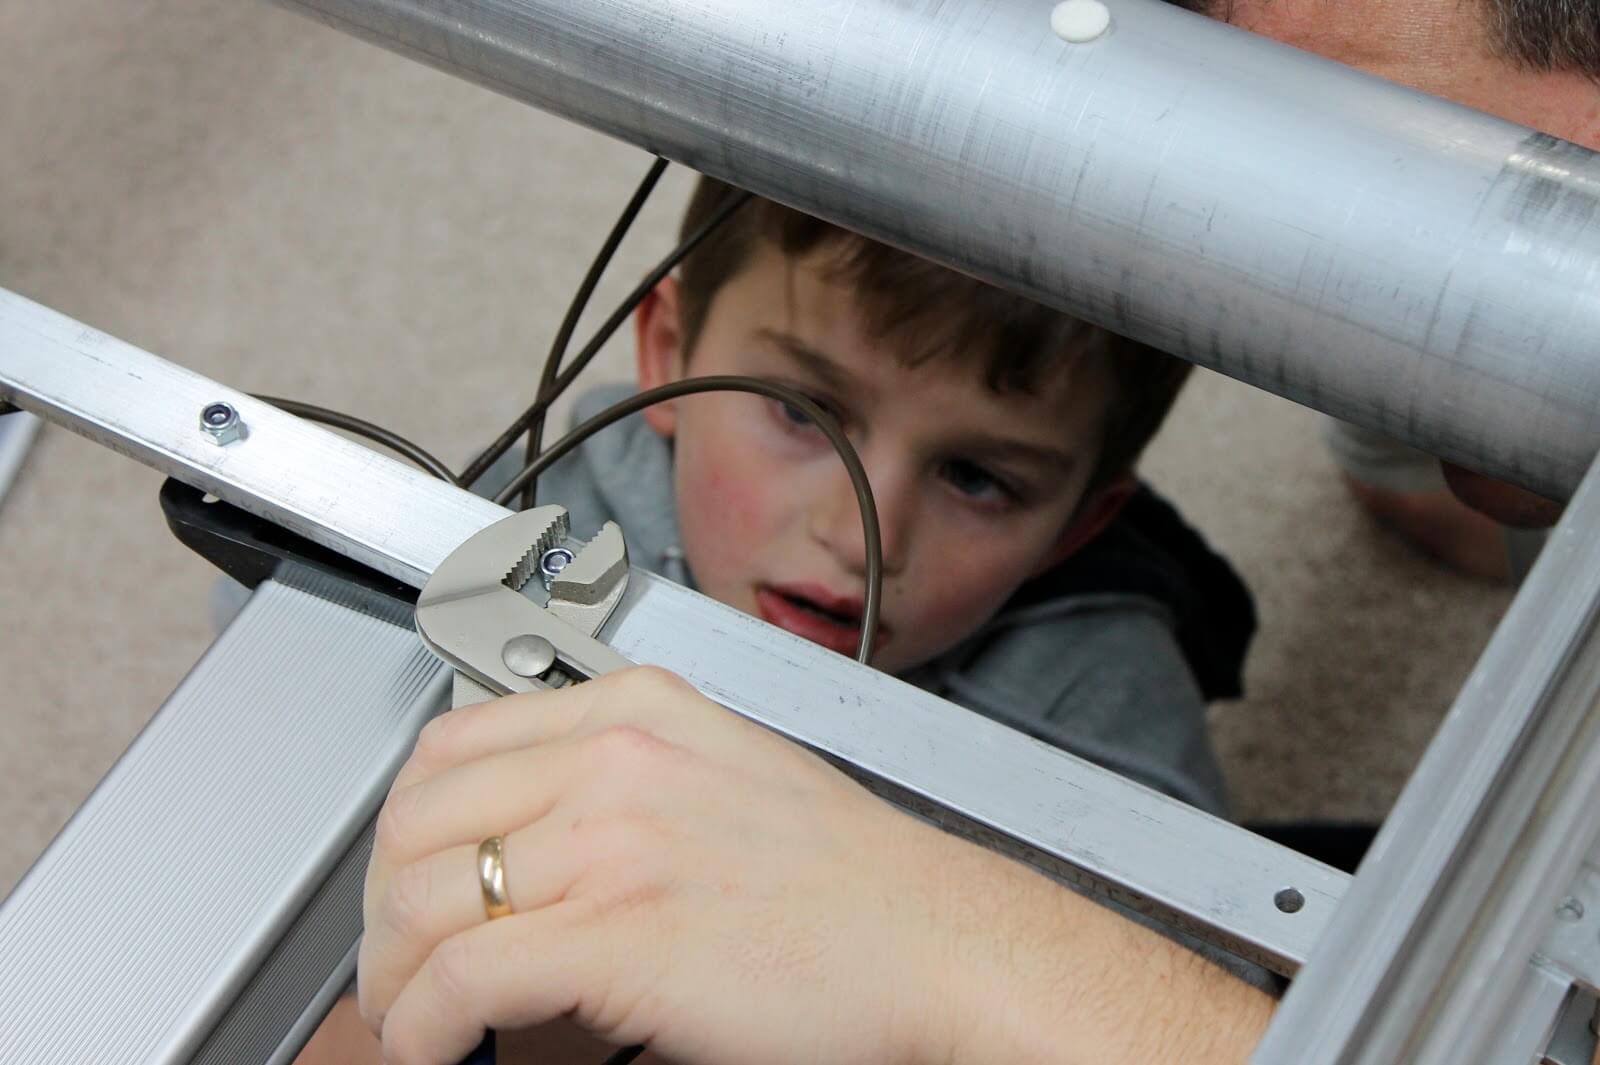
Helper #1 and #2 tightening the hydraulic motor....
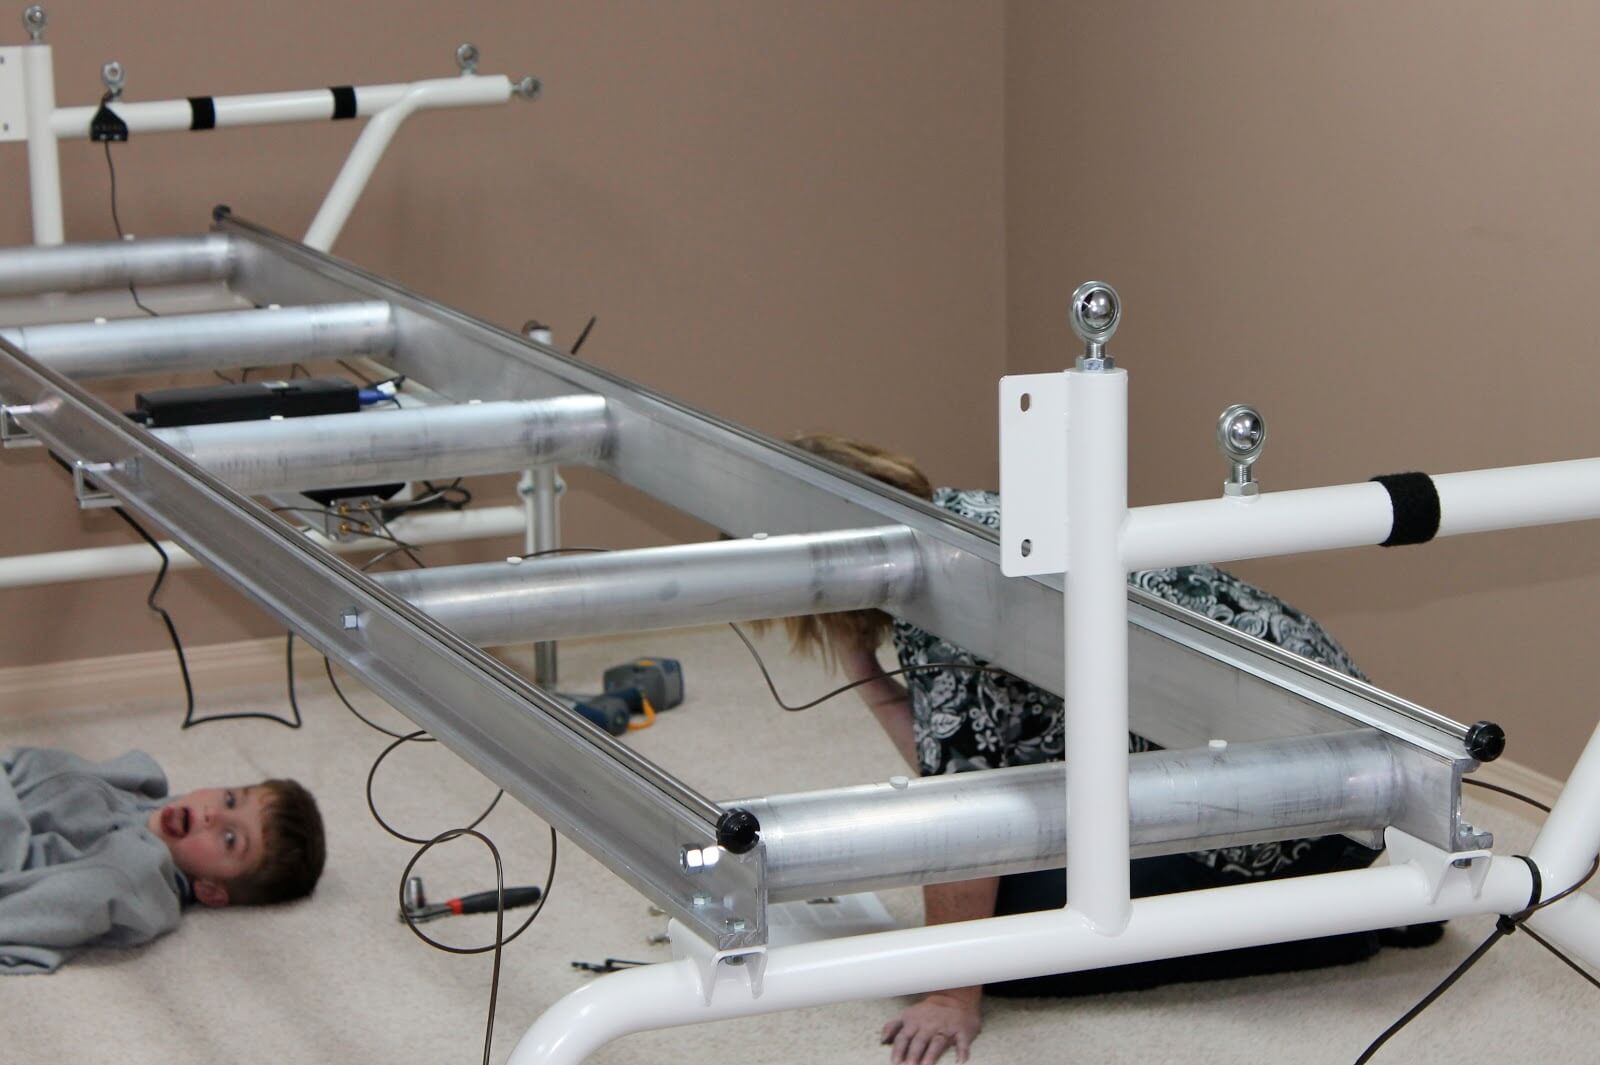
Me trying to figure out if we mounted them correctly - the lift works, but I wished it would lift more..
Hydraulic lift installation - moderate difficulty.
By this point, we were 'done' for the night.

So tired!!!
I'm still a bit unsure if I can adjust the hydraulic lift to go higher somehow, but in time I will figure it out. I assembled it with my table legs adjusted in a comfortable 'base' position - but the hydraulic lift has to lift that extra 5", but also loses that extra 5"to lift higher. Not sure if that makes sense? Maybe there is a way to mount it differently?
So my lift only really lifts a couple of inches instead of a lot of inches.
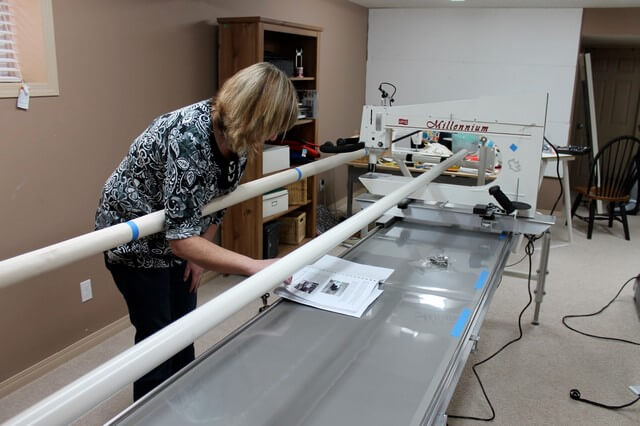
Session 2: a morning fresh start:
Helper #2 greeted me this morning with: are we ready to setup Millie now? Coffee first, buddy!
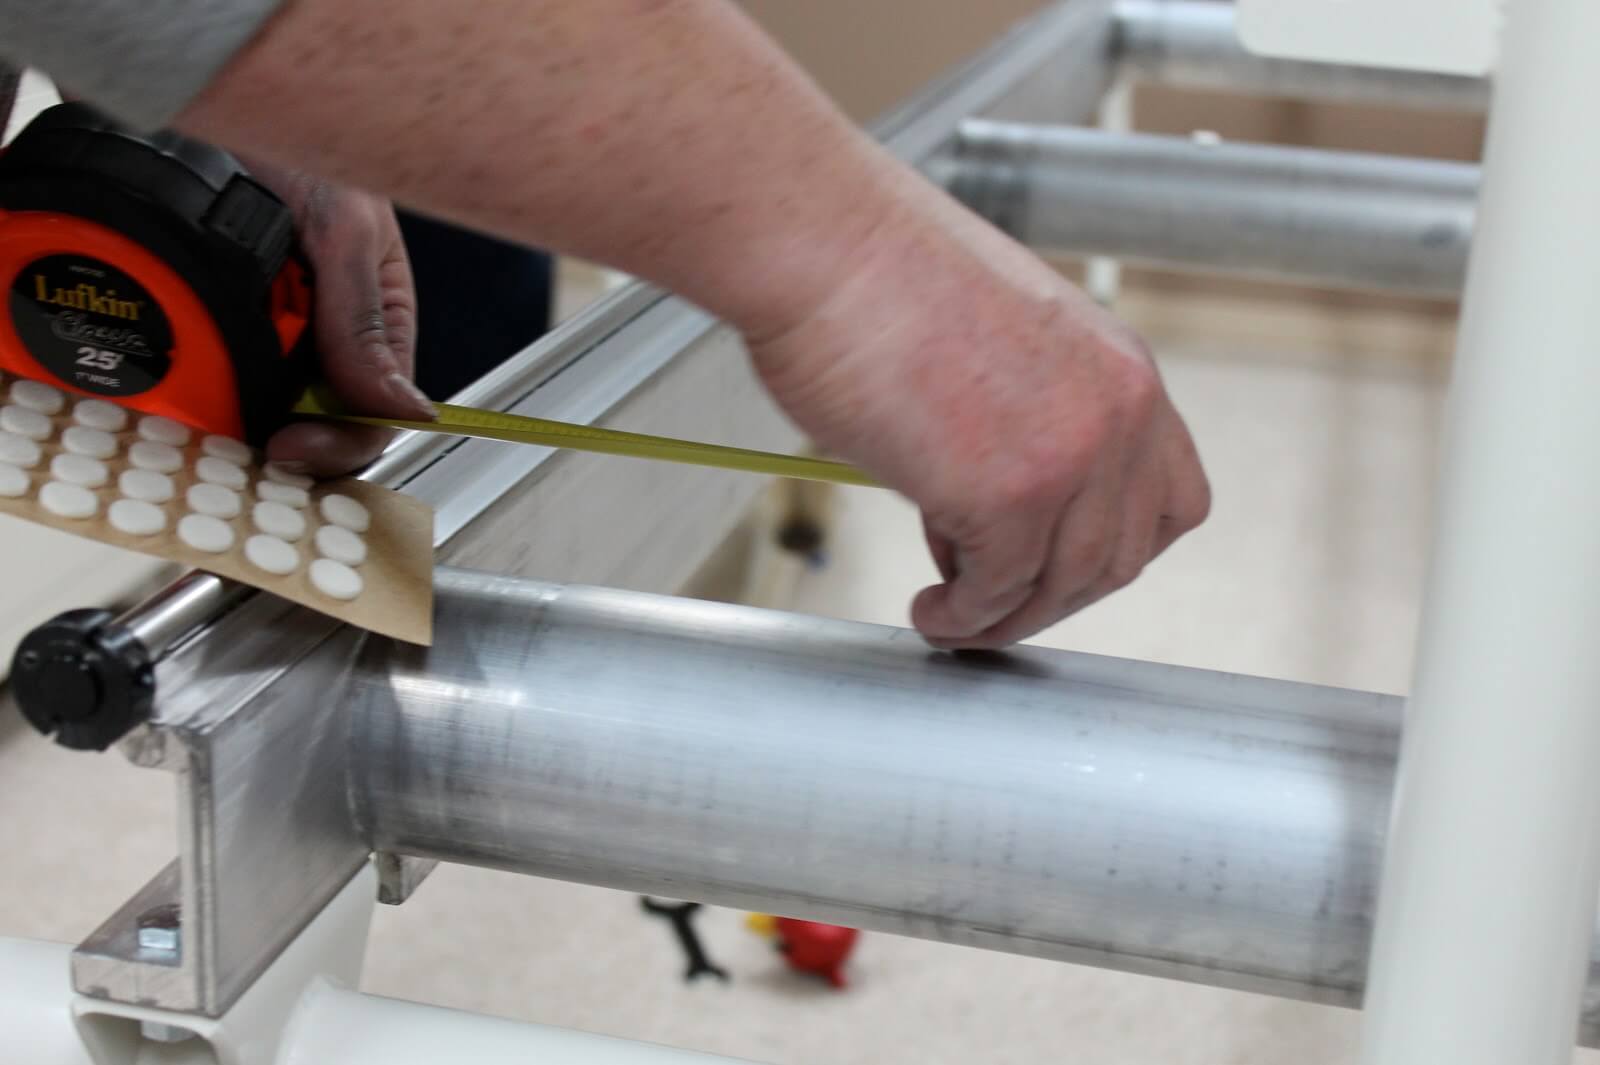
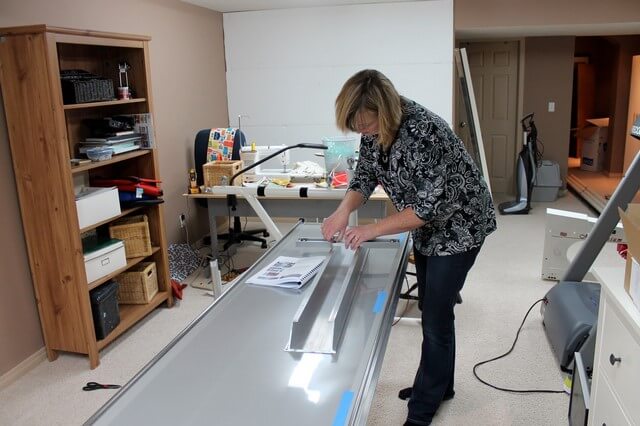
Felt pads on the crossbars to lay the pantograph table..very easy.

Poser pretending like he is so accurate and careful in laying down the table.
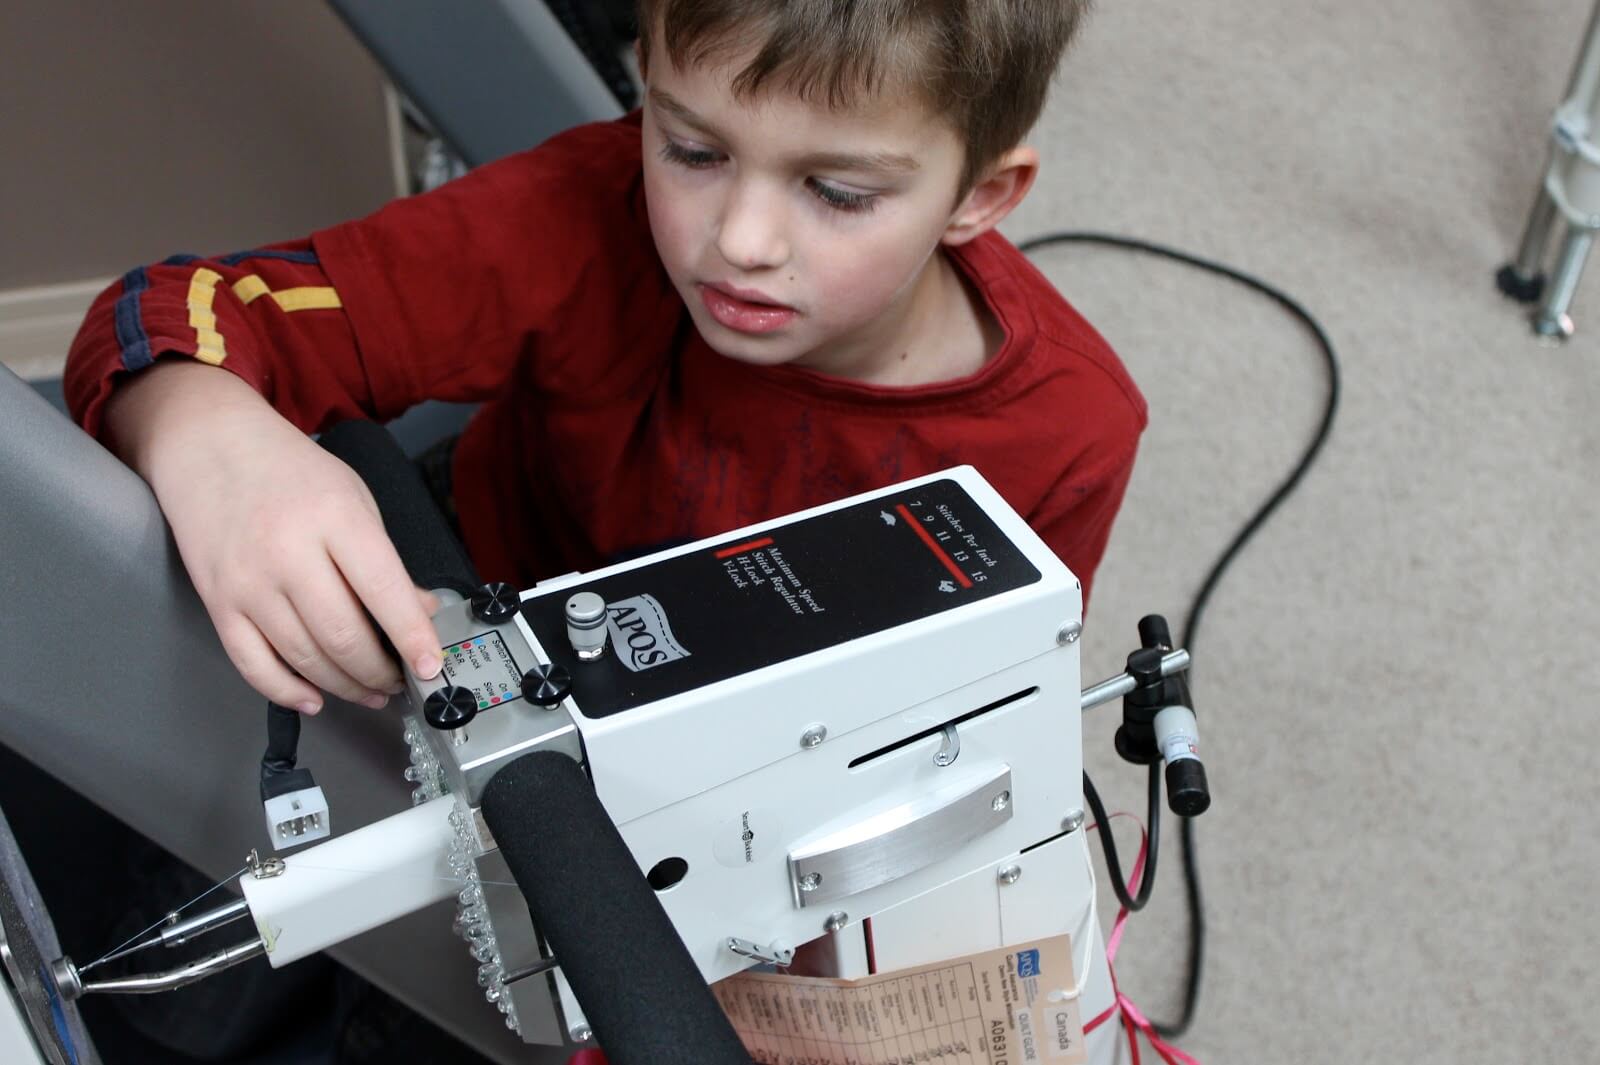
Helper #2 putting Millie's handles on...easy
Assembling Millie's carriage - easy
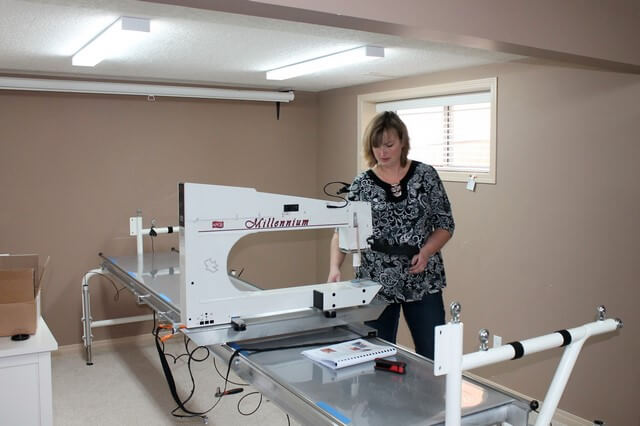
She's on the rails, and she moves and glides! - easy - you need two people to make sure the wheels all align when you slide her onto the carriage
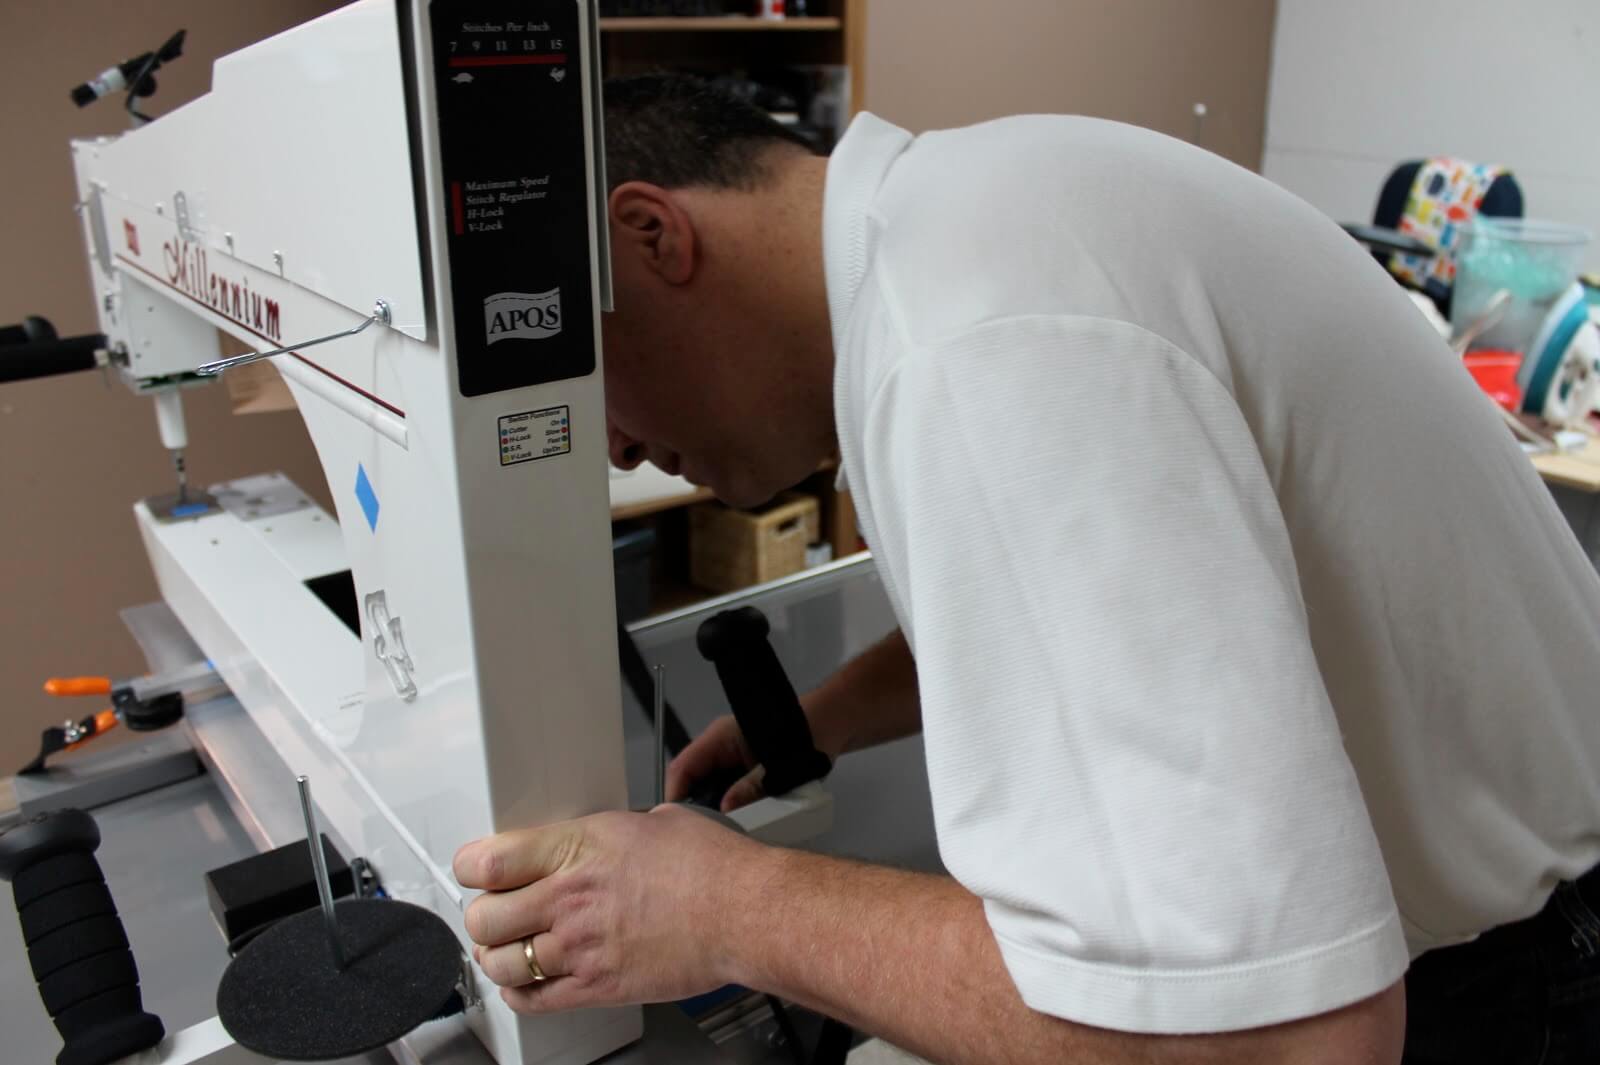
Trent doing some kind of connection. There were plugs to plug in and ground wires to mount. -easy
Two of the leader bars have been put into place. These were really easy to do except for silly errors.

We were cracking jokes at this point about the poles - there's a 'male' end and a 'female end to the poles, and sometimes we had to swing the 12 ft poles all the way around because we had the wrong end....so the jokes started flying. You know the point you start getting giddy because you're tired and ready to be done?

The brake was installed...
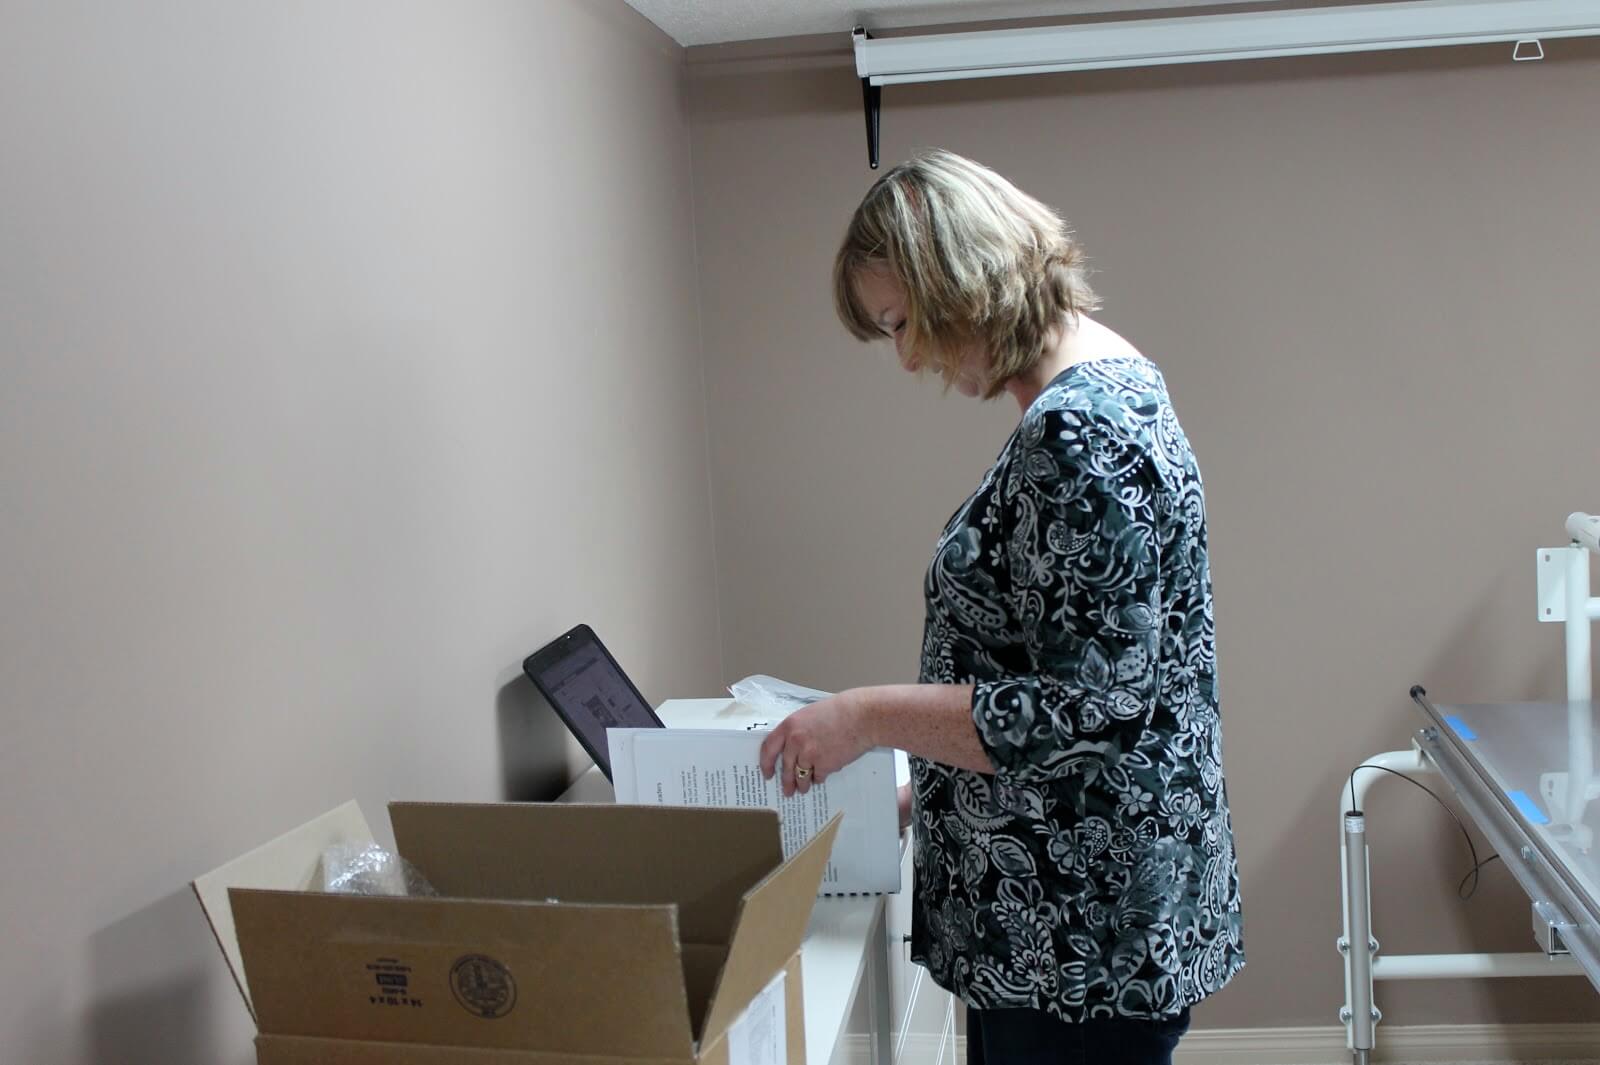
Reading how to install the fabric advance. This part we forgot to take photos of. It was relatively easy. The motor fits onto the 'male end' of the leader pole. The only difficulty we came up with was the actual connection couldn't be tightened because the motor was in an awkward position. Trent had the brainy idea to plug the motor in and advance the mechanism so it could fit properly.
Loading a practice quilt. Loaded it wrong...ha!
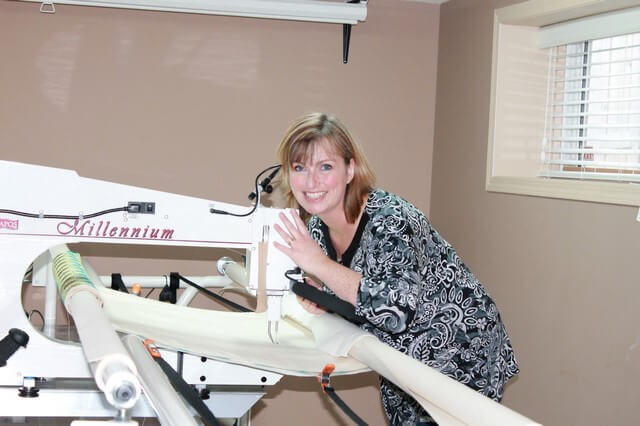
I love my Millie!
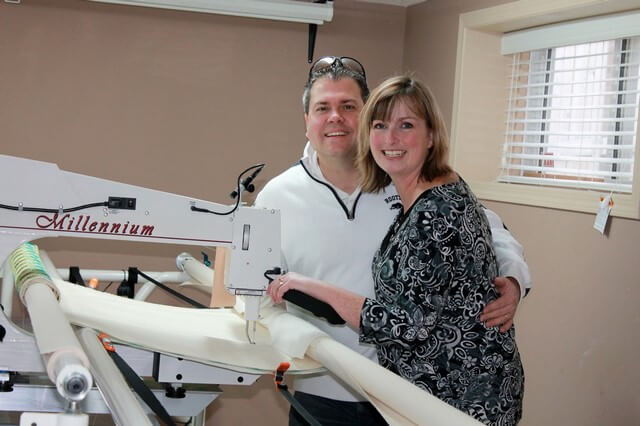
I love my man...we did it!
Now that looks like an awesome piece of machinery! Good for you both in putting it together. Can't wait to see what becomes of it. Congrats!
ReplyIgot distracted by the fact you are 6ft tall and I am not.
ReplyYou did it! And saved a ton of "thread bread!" You look great, as do both of your helpers; what a neat family project. Watch that boy of yours, the girlies are going to go nuts for those pretty eyes in a few years!
Reply$500 for a set-up fee? Whoa! I can see why you did it yourself, even though it looks like an epic journey. And now you know the ins an outs of your machine… I'm assuming very well by this point! Lol.
ReplyCan't wait to see what you do with this baby!
How did you get a white frame? That's so much pretty than my Millie's black frame.
Replyicing the dream through you from you now where. Awesome set up photos. You'll be quilting in no time.
ReplyThat should read 'living'
ReplyYou guys are unbearably awesome.
ReplyThis is so cool, Andrea!! Those things are huge, aren't they? So the part about the male and female parts just cracked me up. When we were part owners in our rustic cabins up in the mountains, with really old plumbing, we often had to replace the "ballcocks" in the toilets. Seriously? I could NEVER say that word without rolling my eyes and laughing out loud.
ReplyBeen there, done that, five times. LOL I've moved my Millenium 5 times since I got her in 2006, to her latest home in my attic bedroom (yes, on the 3rd floor). Had to do that last one by handing up the poles on the outside of the house, level by level, & then through the window. But I know everything there is to know about her and can now do the setup in under 3 hours. Wonder if I can put that on my CV? Congrats to you and your helpers! Great job & Happy Quilting!
ReplyCool machine! Great husband and son! Nice looking quilts! My gram used to make them also. takes a lot of time and work but the finish product is worth it! She left each of us grand kids one when she died. Thanks for posting!
Replyhttp://restlesshandswithmanyplans.blogspot.com/
This is such a neat idea!
ReplyThis is a great inspiring article.I am pretty much pleased with your good work.You put really very helpful information. Keep it up. Keep blogging. Looking to reading your next post. https://www.houzz.com/ideabooks/86706718/thumbs/best-sewing-machine-for-quilting-choosing-the-quilting-sewing-machine
ReplyEasily, the article is actually the best topic on this registry related issue. I fit in with your conclusions and will eagerly look forward to your next updates. Just saying thanks will not just be sufficient, for the fantasti c lucidity in your writing. I will instantly grab your rss feed to stay informed of any updates. Pirani Gauges
Reply