Showing posts with label superior. Show all posts

Monday, June 02, 2014

Straight line quilting and Channel Locks

One thing that I really wanted with my APQS machine was the ability to do straight line quilting.   I love the look of it, and was hoping that it would be fairly easy to use.   Last week I got to finally try it out.

I use my channel locks every single time I quilt.  But not for straight line quilting.  I use it to square up my quilt,  straighten seams and blocks, and make sure everything is falling into place the way it should.  The push of a button and I can guide my machine down a wobbly seam line and adjust my quilt top so that it appears straight.  It doesn't work magic, but it does help!

Sounds easy for quilting, right?    Wrong.
Unless your quilt and blocks are totally squared, precision pieced and straight,  
 straight line quilting will be tricky.  
Luckily I had a great quilt to try it out on.  

Tip -  if you do try straight line quilting,  just use your finger to push the machine along in the direction you are going.  Don't grip the handles -  just a simple push with your finger down the frame will ensure no wobbles or wonky lines. Yes, the machine is that light and that amazing that I can push it with my finger to stitch.

 If your borders or blocks are slightly wobbly or uneven,   the straight channel locks are unforgiving.  You line will be a straight line,  but it may not match up with a wonky seam line.      
 This quilt is just so cute.  I love the colours - so different.   I used a combination of spirals, straight lines and wishbone quilting in the teal and green blocks.   In the print blocks, I did a simple geometric maze to lightly quilt. 
The pieced backing is equally as cute -  it really shows of the quilting as well.
Batting - Hobbs 80/20
Thread -  Superior SoFine in pea soup green ( I forget the number and am too tired to go downstairs and look! )

Wednesday, January 22, 2014

Are you a tosser? Part 2

Awhile back, I had posted about my habit of tossing threads to the floor as I work.  Well,  I'm happy to report that I haven't changed and I don't plan to.  (except when I'm teaching on someone else' s machine. Why is it that my conscientious behaviour works in this situation, and not my own?)

I was a little bit worried about how my vacuum would like this habit.  I finally came across something that works...
Voila,  your $1.00 toilet brush.   


It's clean of course!   I picked this guy up from the dollar store.  It works like a charm!  So I 'sweep' this brush over my carpeted area and pick up all of the tossed threads - Aurifil, Wonderfil, Glide, Superior, Guterman.  It doesn't play favourites!  It doesn't get every single one of them, but it does the majority.  And my vacuum is grateful.  

And I found another use for it:  


My design wall -  it's been a disaster.   I've tried vacuuming it, and the vacuum doesn't pick up the threads without sucking up the flannel.   I've tried the sticky lint roller - which works somewhat but not that great and I hate wasting all of that paper!  
Look at the after: 


Amazing right!? 


A great little tool for you tossers working on carpet.   

You're welcome!


Wednesday, March 06, 2013

Spools of Colour

Is it possible that my addiction to solid colour fabrics could easily transfer over to threads?  

Look at this gorgeous pack of thread I bought from bobbincentral.com  
This is Glide thread, which has come highly praised by many longarm quilters from what I read.  I also received a colour card - and it's actual thread wrapped samples too, so no distortion in colour. 

Three other brands I want to try out -  the new Aurifil longarm thread, Superior and Metro/Sigma.  
oh this could be trouble...


Only thing I realized.... I didn't get any grey.  And I have a King size top to quilt soon with grey thread.  sigh. 

Friday, February 22, 2013

Longarm Quilting Machine Unpacking

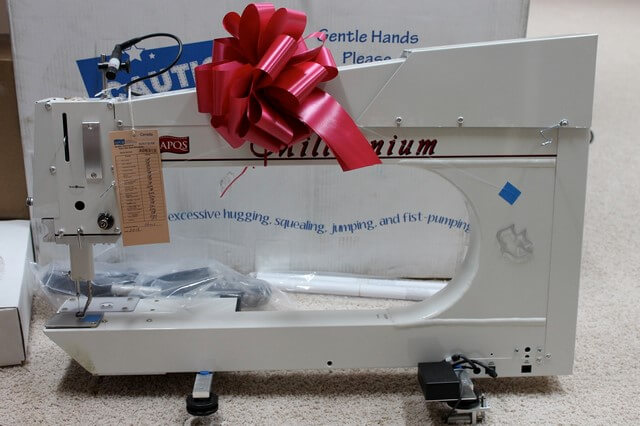
She came with a bow!   I don't want to take it off, ever!  
First thing I unpacked:
Update on my boxes: -  it looks so far like there is no visible damage to my items.  I did however, receive an extra table leg that was to be delivered to someone else.   I didn't realize it until I got the call from the freight company.   
My dealer Matt Sparrow -  is such a gem. I emailed him about the condition of the shipment and he called me immediately and talked me through it. 

The 8 boxes of items were not difficult to move. The 12 foot pole boxes were definitely heavy, and a two person job.   Before you even consider buying a longarm quilting machine - make sure it will fit into your space...by that I mean make sure you can get the 12 foot poles around stairs, corners, etc.   A 2x4 piece of lumber was recommended to test out if they will fit. 
Confession:  I cheated and used 3 hockey sticks taped together.   

Unpacking the boxes was fun.  Kind of like Christmas actually.   


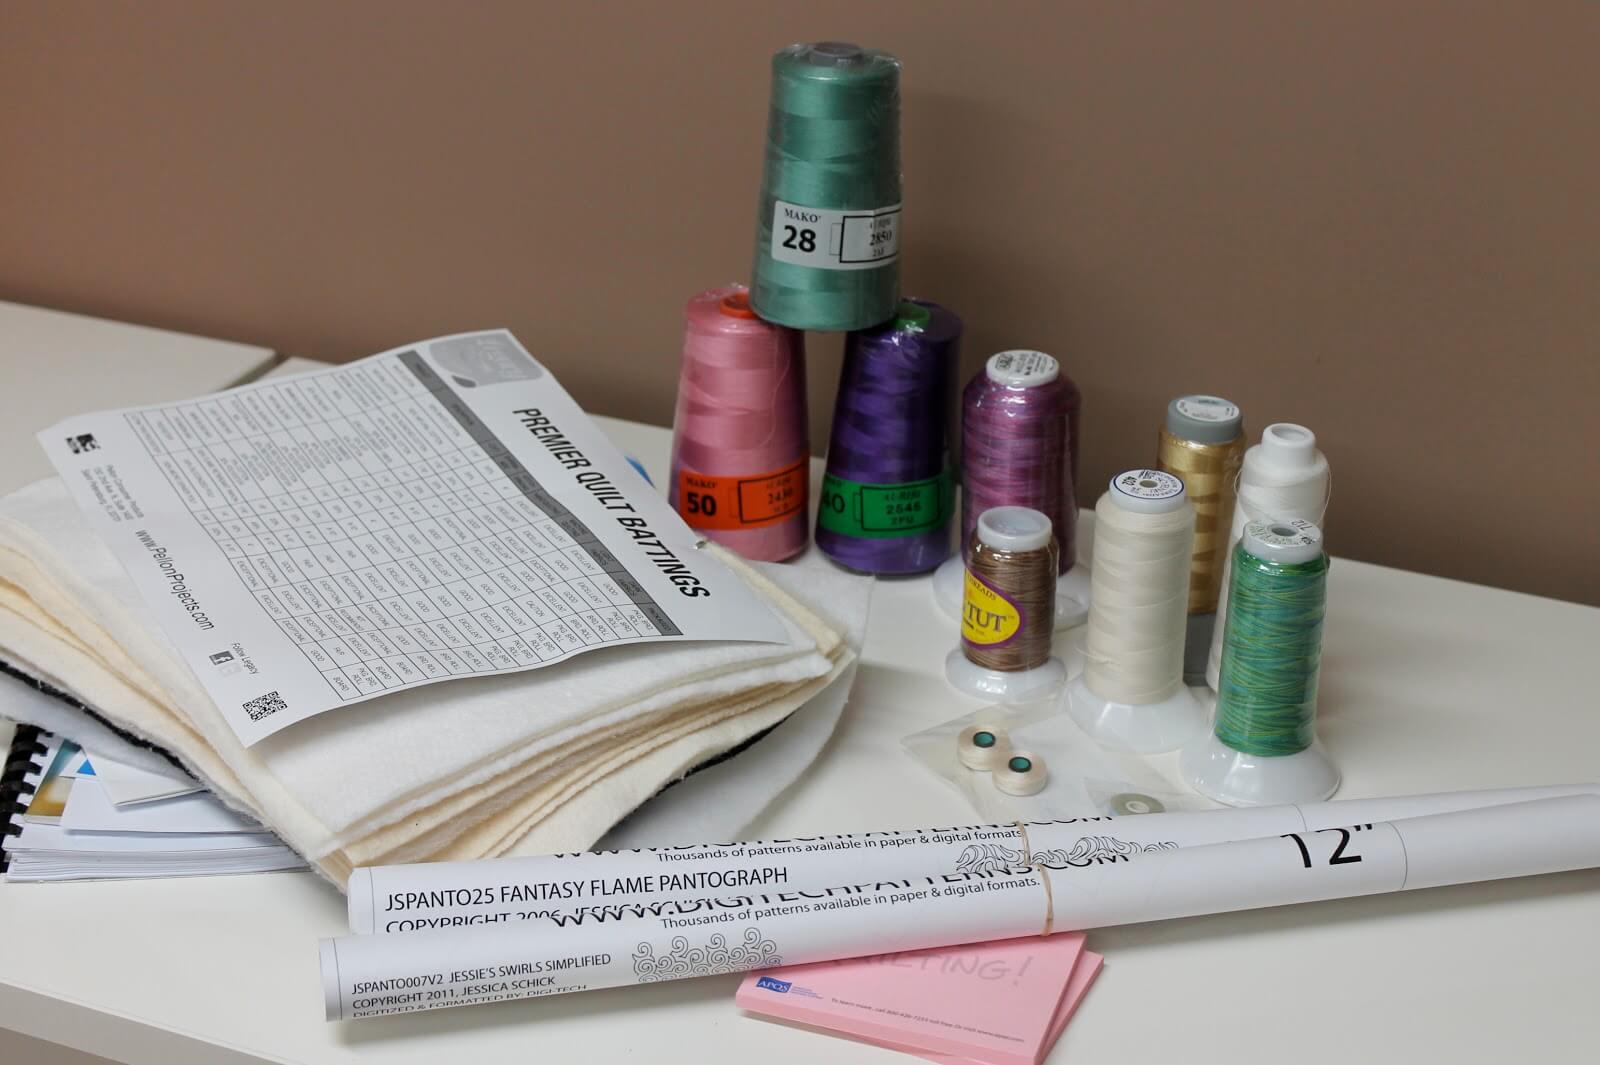
I was supplied with a selection of threads of Aurifil,  Omni, Filtec, Superior, Signature and KingTut.
(I want to get my hands on some of the new Aurifil longarm quilting thread that was announced)  
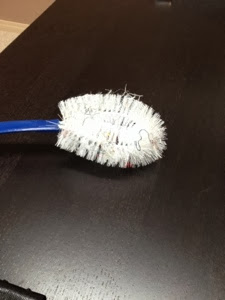
I received two pantographs (12 foot long sheets of paper with an allover cool design on it.  You basically trace the design with a laser pen and the machine stitches it for you)
One thing I was very happy to receive was a sampler guide of batting.   It is only from one company (Pellon Legacy), but it is great to have a feel for what each type is like.  There's 100% cotton with and without scrim, wool, poly, rayon, soy and the 80/20 blends.   Now I know what kind to order without guessing! 


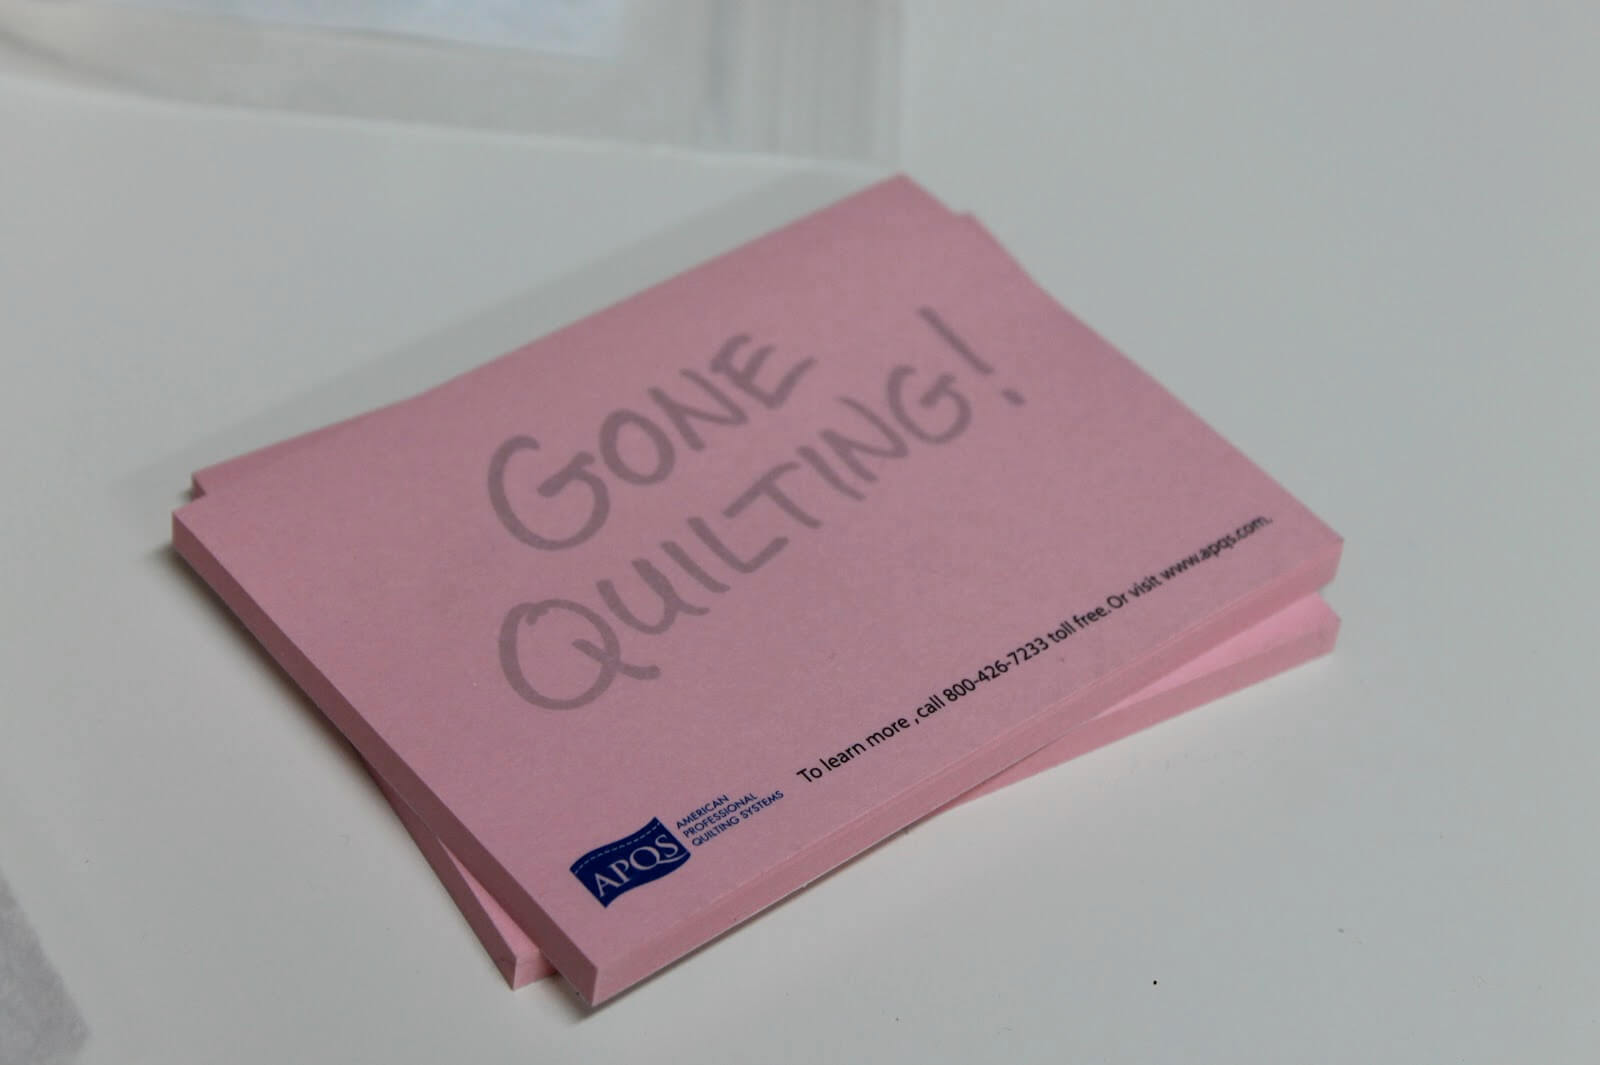
 Also received these cute stickie note pads.  I'm going to wallpaper my studio with them.

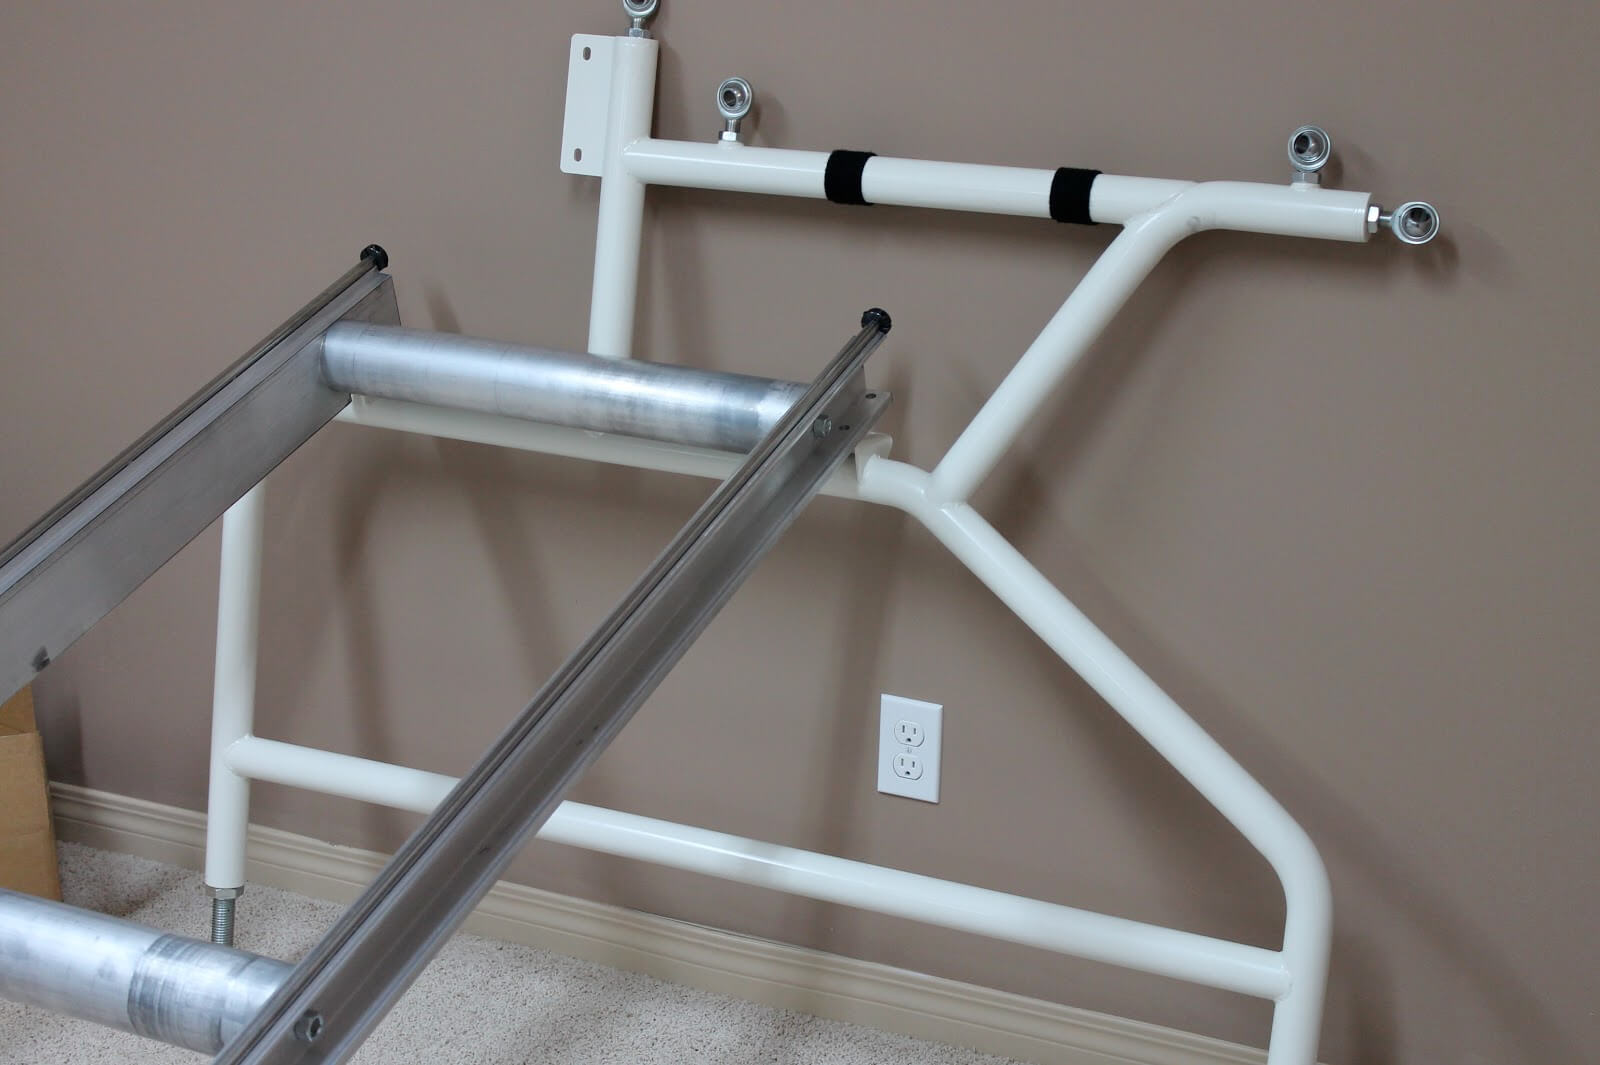
I was able to assemble not much on my own yesterday.  Poles and rails are heavy, but I did get a start on two things.

Here I am putting the cross bars in.  Yes, I put the damn timer on the camera and ran over to the space, tripping on my way....and still managed to smile and pose.  LOL


The instruction manual is NOT LIKE IKEA.  CHEER!!!  It is so thorough and detailed and dare I say easy.   But I only did a few things so far. 


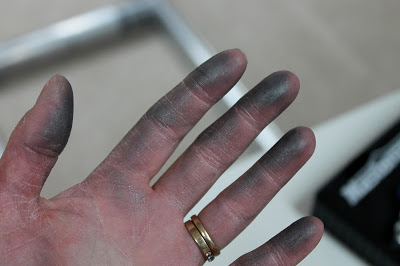
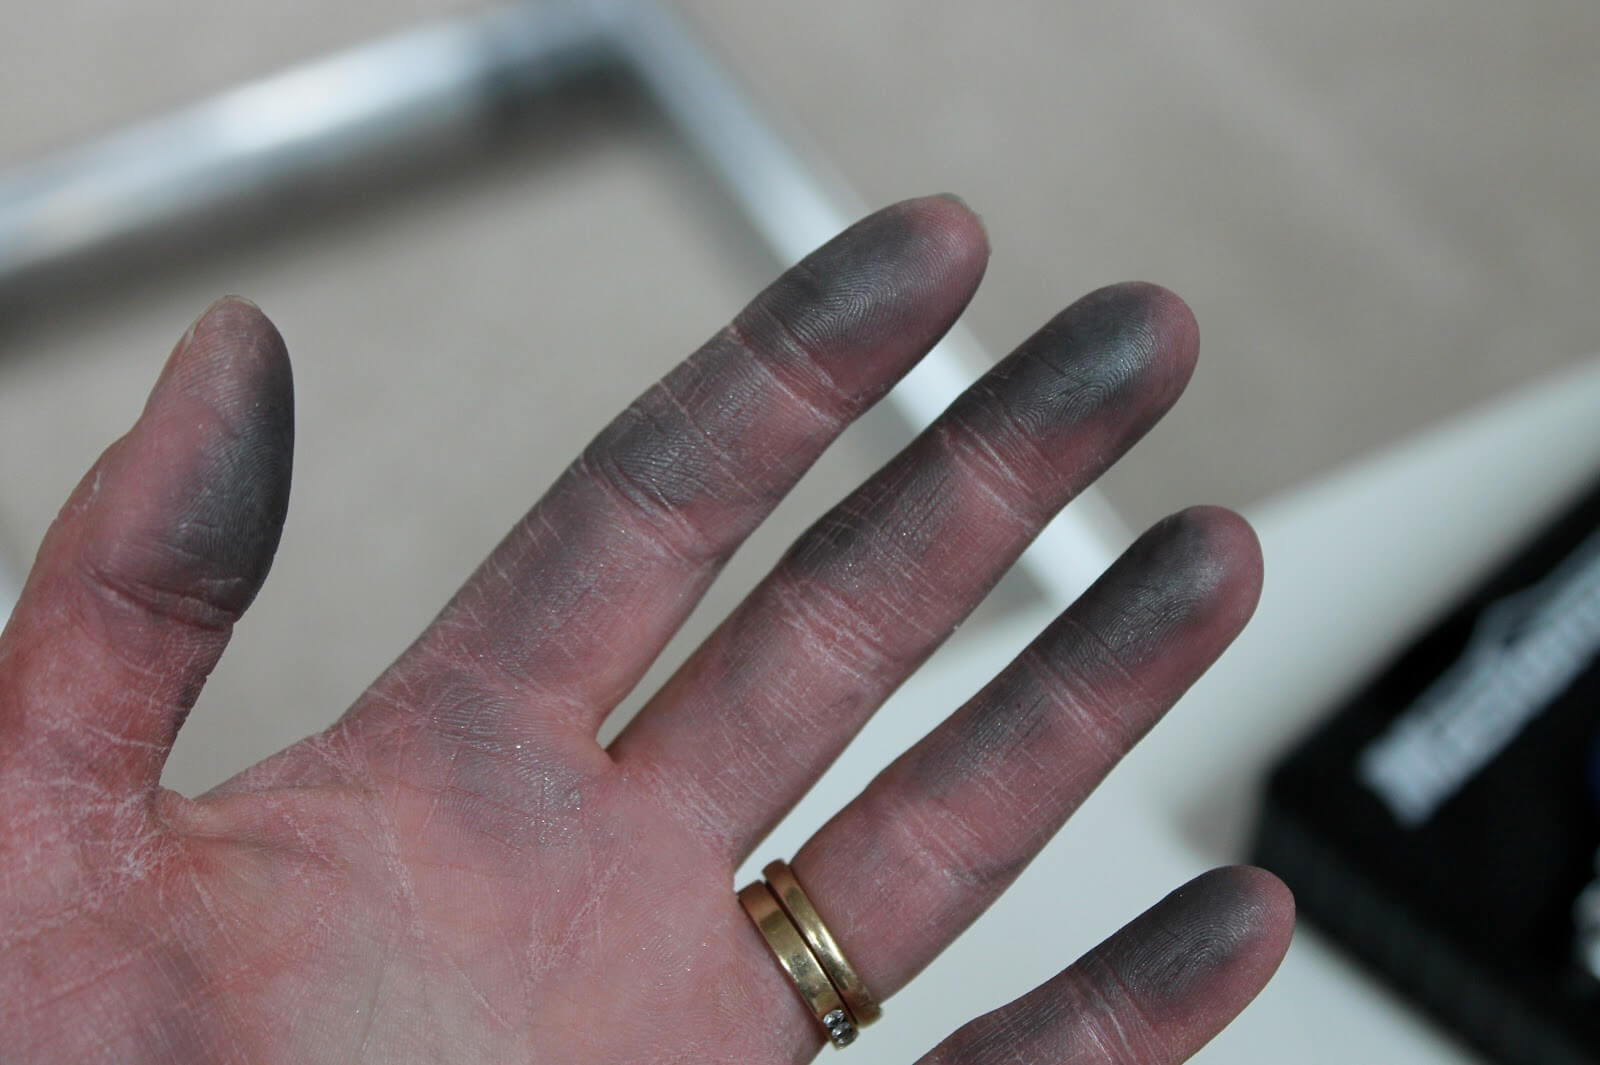
The manual should state that you need lots of soap and or wipes in between steps.  :-) These are my hands after putting ONE crossbar on.   please don't judge my dry cracked hands...I live in such a dry place!


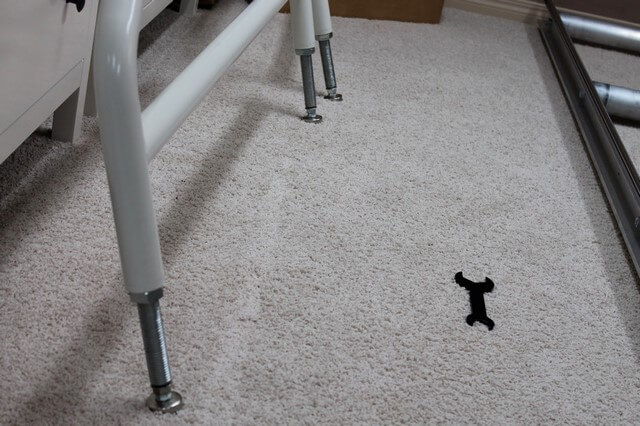
The next thing I was able to do was adjust the height of my table legs....that was easy.  

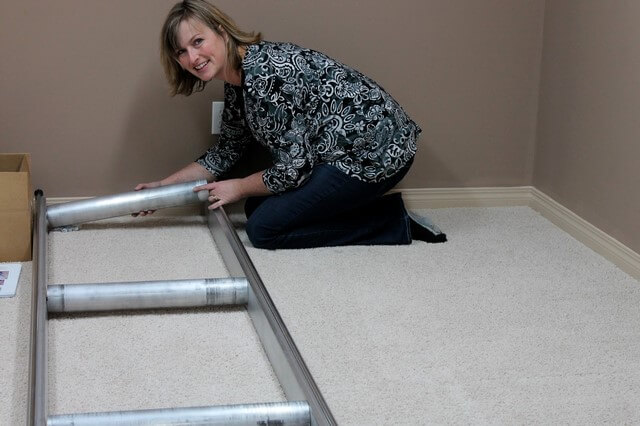
This next part looked easy, but when the instructions say 'may need a helper', they are right.  This is where I left off.  The ladder/rails are super heavy. See?  Not much done.

Also,  if you notice, the photos in my studio are all light and bright.  I had daylight fluorescent fixtures put in and I cannot believe how awesome it is down there now!   All of the photos were taken without a flash....awesomeness.

The rest of the setup will be assembled tonight and tomorrow with my husband.  I'm sure we'll have lots of laughs and snarky remarks as we put this thing together.   We never fight when we do this stuff as many people we know do.   We just resign ourselves to being feeble at it and laugh our way through it.  :-)  I love him for that.

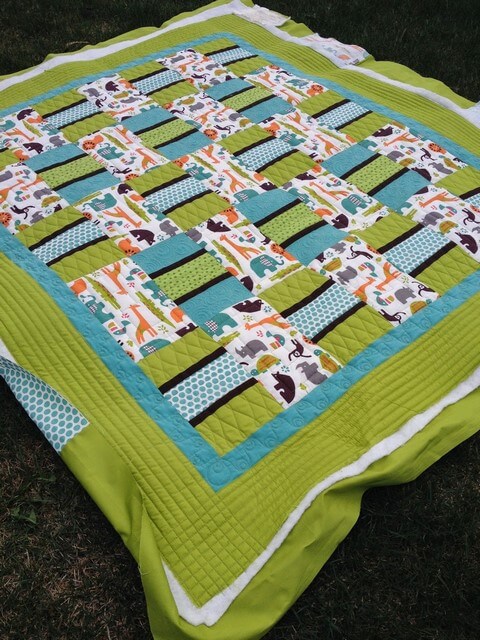
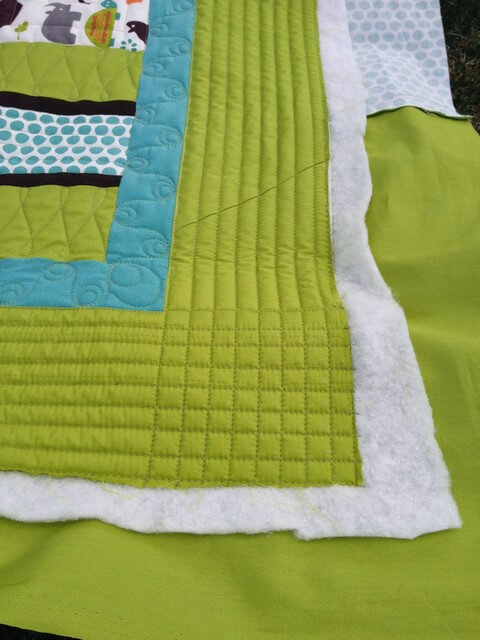
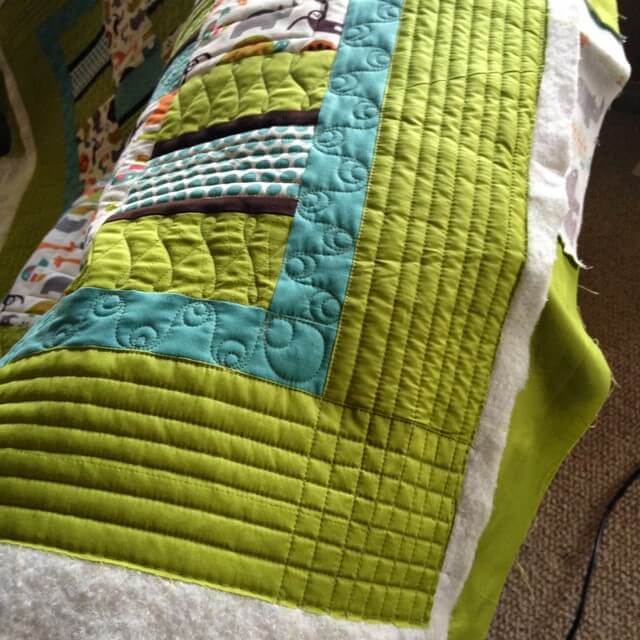
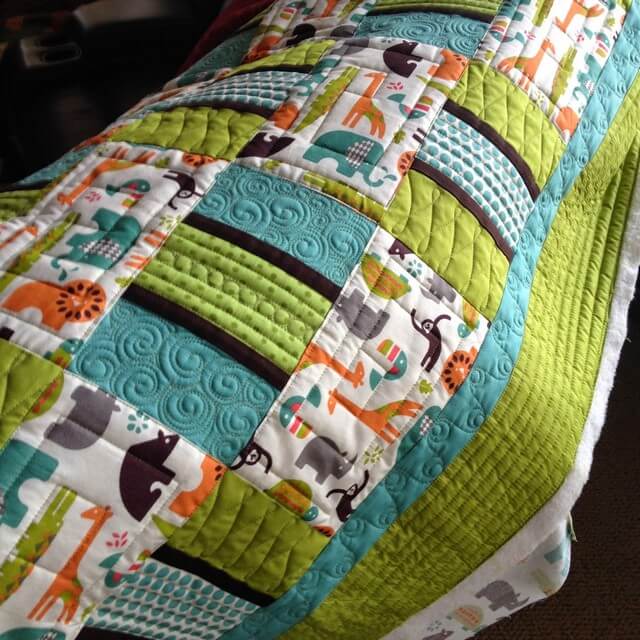
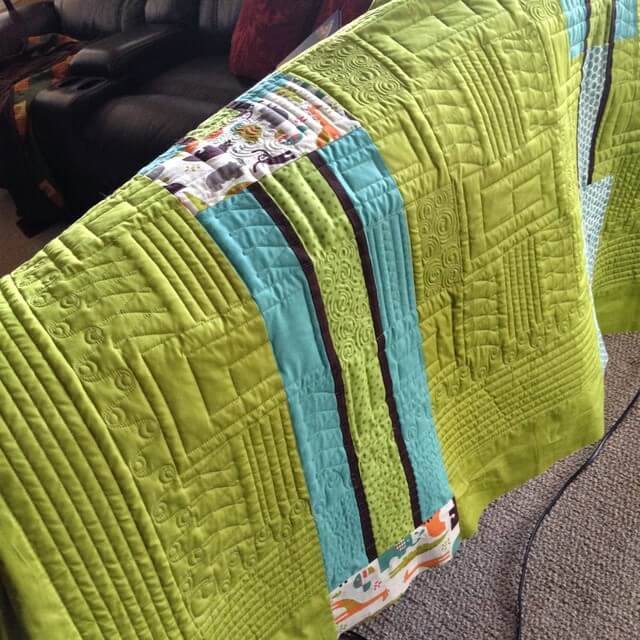
I'm working on a quilt right now that I detest.  I've ripped the layout apart twice now, with hopes that this next layout will look better.  Thank god for the design wall to help me through it.  I'm just not into the colours or fabrics so it's making it a bit tough.  I want to share it with you for feedback and suggestions, but I have a feeling the recipient reads this blog on occasion.