All I can say is practice, practice practice. PPP.
It really is like handwriting - remember in grade 3 when your teacher taught you handwriting? Did he/she give you the entire alphabet all at once? No! You practiced a couple of letters each day - with similar shapes at a time. That is exactly how I work on my machine quilting skills.
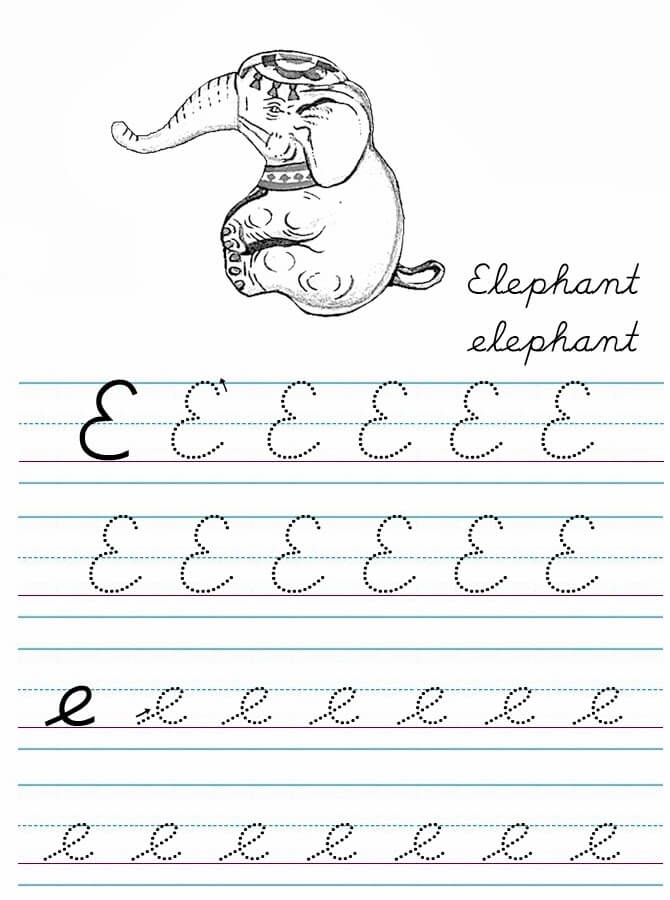
lower case e's and l's are really good practice for loops in machine quilting!
There are some basic shapes in machine quilting - curves/arcs, S shapes, hooks, straight lines, and loops. From these basic shapes you can spring into more complicated ones.
I practice mostly using a whiteboard on my lap - while I'm watching TV, but I do use a notebook/sketchbook to practice as well. Once I have the shape reasonably comfortable in my practice, then I move to the machine and practice there.

So, I have listed a few easy machine patterns that I do to practice some of the easier shapes. The easier the shape, the more I focus on things like changing size; travelling across the quilt without getting stuck in a corner; and filling the spaces evenly. Believe it or not, I STILL go back and practice a plain ole meander once in awhile!
Curves and Arcs
The very first thing to do would be some simple S curves and arcs - that would be the basic meander!
all of the names I call these practices are made up by me - there could be an actual name for them, but this is what I call them.
The Meander
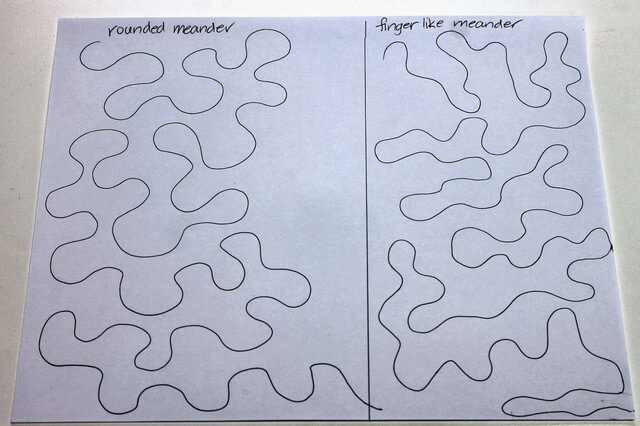
Poor ole meander, it does not get enough credit. This is the foundation of quilting - this is how we start out! Practice making your curves nicely rounded (left of photo), and fill up your space evenly, without getting 'trapped' in a corner. You can also try some variations such as one I call the finger like meander - the curves are longer and less round, the fingering meander has more stretched out peninsula like shapes
I'll continue with a few more in my next post...
Surely something which people have been searching for a long time. Thanks for sharing such useful information. Keep up the good work on your blog.
Reply